
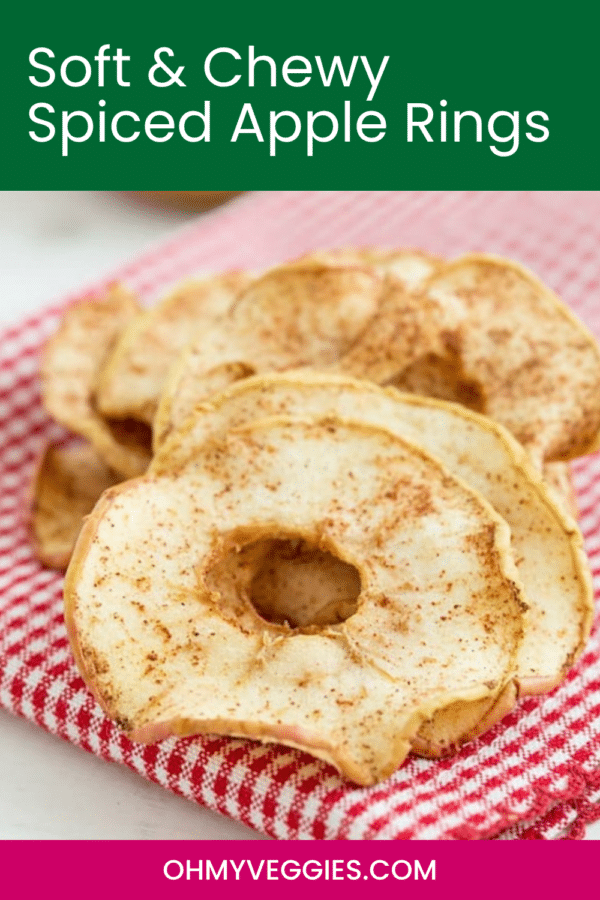


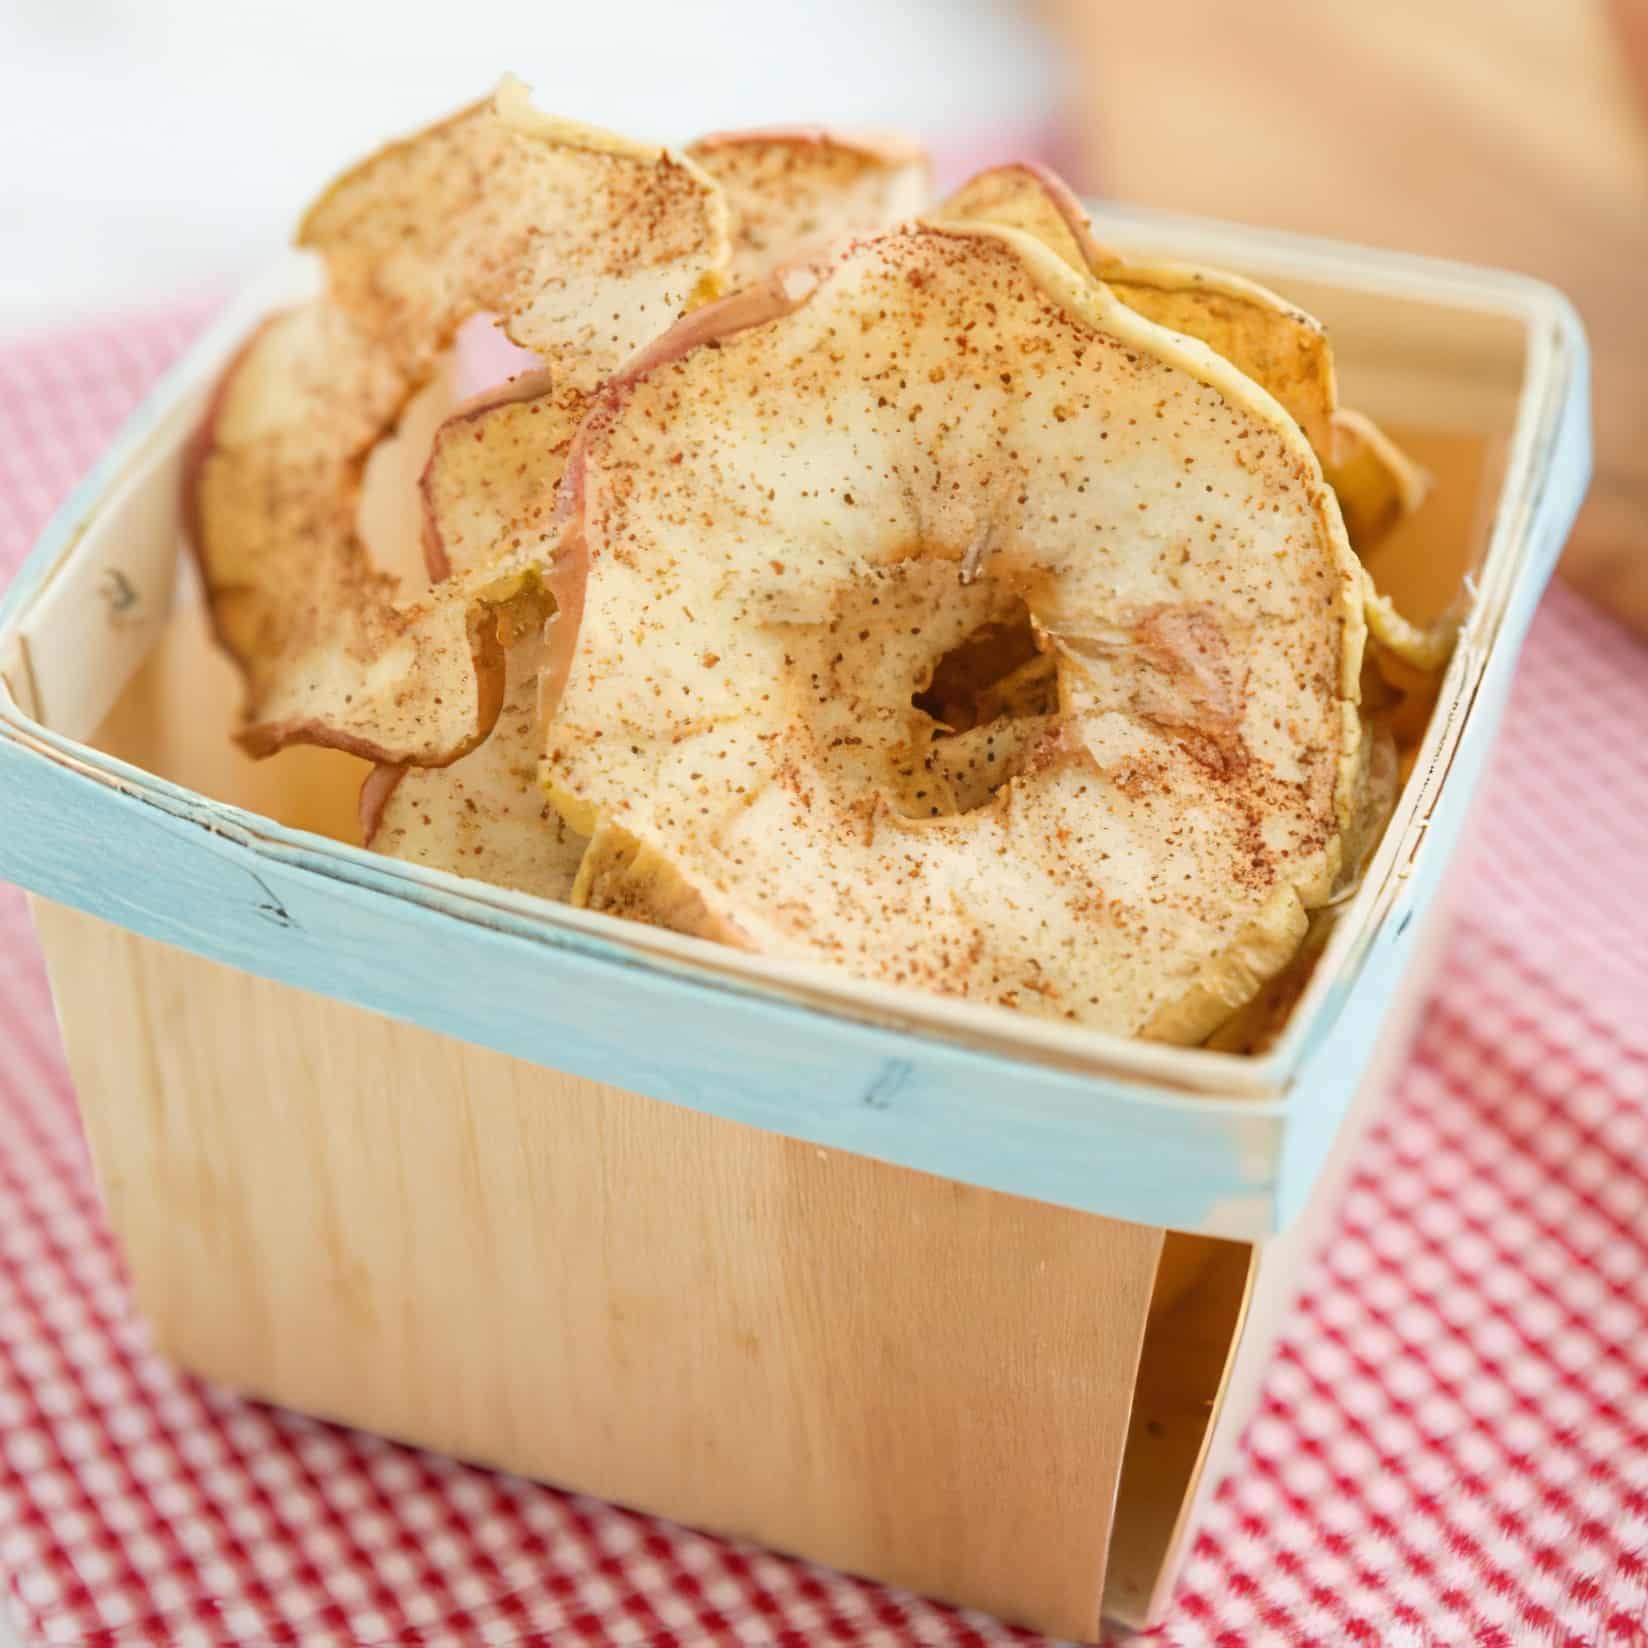
These oven-baked dried apple rings are soft and chewy - almost like candy! But with no added sugar, these apple rings are a healthy and delicious treat.

Is there a secret to coring apples? Please tell me that there is and I'm doing it wrong.
I have an apple corer and I can never get it to go in through the stem and out through the bottom - it always goes out slightly to the side of the bottom and then I have to core my apples twice. And twice-cored apples are not as nice looking as once-cored apples.
Anyways... I made apple chips last fall and I decided to revisit that idea, but with the addition of chai spices - cinnamon, ginger, cardamom, and just a pinch of cloves.
Instead of baking the apples until they were crispy, I baked them until they were soft and chewy.
Because the only descriptor I like more than spiced is chewy. Chewy is never not good! Yes, I said never not!
You Don't Need a Dehydrator!
Apple rings and chips are really simple to make at home. While it's nice to have a food dehydrator for these sorts of things, you don't need one - an oven set at a low temperature works too.
When you make your own dried fruit, you can avoid adding sugar (a lot of dried fruit has added sugar!) and sulfites.
Sulfites are added to dried fruit to help make it last longer, but they can be a trigger for migraines, so I try to avoid them as much as possible.
So homemade dried fruit might not last as long as the kind you buy at the store, but it's so tasty, you'll probably want to eat it all within a day or two anyway. (Maybe even within an hour or two!)
Key Ingredients & Substitutions
- Apples (the best apples for drying). Firm, sweet, crisp apples make the best dried apple rings because they hold their shape and don't need any added sugar. Honeycrisp, Pink Lady, Fuji, Braeburn and Gala are all great choices. Granny Smith works too if you like a tart, tangy ring. Skip soft, mealy varieties like Red Delicious or McIntosh, which tend to turn leathery and flat instead of pleasantly chewy. One extra-large apple makes about a dozen rings; use two medium apples if that's what you have.
- Ground cinnamon. The backbone of the chai spice blend. I like Ceylon cinnamon here because it's warm and gently sweet, but regular cassia cinnamon is fine.
- Ground ginger and cardamom. These give the rings their chai flavor. If you don't have cardamom, a pinch of nutmeg or allspice is a good stand-in.
- Ground cloves. Just a pinch! Cloves are strong and can taste bitter if you overdo it.
- Shortcut spice option. No time to measure four spices? Use ½ teaspoon of apple pie spice or pumpkin pie spice instead.

Helpful Tips
Slice evenly. Rings that are all the same thickness dry at the same rate, so you won't end up with some slices burnt and others still soggy. A mandoline slicer makes quick work of it, but a sharp knife and a little patience work too. Aim for somewhere between ⅛ and ¼ inch.
Core first, then slice. Push the corer straight down through the stem end while the apple is whole, then slice crosswise into rings. If your corer wanders off-center like mine does, just trim out any leftover bits of core with a paring knife.
Give them space. Arrange the rings in a single layer on parchment so they aren't touching. Overlapping slices steam instead of drying and stick together as they bake.
Flip halfway and check often. Turn the rings over halfway through baking so both sides dry evenly. Thin slices can be ready in about an hour, while thicker ones may need the full 90 minutes or a bit longer. They're done when the edges are curled and shriveled but the centers still bend without snapping.
Let them cool before judging. Warm apple rings feel softer than they really are. They firm up a little as they cool, so give them 10 minutes on the pan before you decide whether they need more time.
Variations
- Oven vs. dehydrator. The oven method in the recipe below is quickest, with chewy rings in 60 to 90 minutes at 225°F. If you have a dehydrator, spread the spiced rings on the trays and dry them at 135°F for 6 to 10 hours. It takes longer, but the low, steady heat gives you evenly chewy rings with no risk of browning, and you can dry several apples' worth at once.
- Crispy apple chips. Slice the apples thinner (about ⅛ inch) and leave them in the oven longer, until they're dry all the way through. Turn off the oven and let them cool inside so they crisp up.
- Cinnamon-only. Keep it simple for kids or picky eaters with just cinnamon, or a dusting of cinnamon and a pinch of salt.
- Lightly sweetened. Brush the rings with a thin layer of maple syrup before adding the spices for a candied, caramelized edge.
- Pear rings. Firm Bosc pears slice and dry beautifully with the same chai spices.
Serving Ideas
Dried apple rings are a perfect grab-and-go snack for lunch boxes, hikes and road trips. Toss a handful into a jar of fall snack mix, or chop them up and stir them into trail mix with toasted nuts and pumpkin seeds.
They also make a pretty topping for breakfast. Pile a few on a bowl of apple ginger steel-cut oats or apple and cinnamon bircher muesli, or tuck them into a yogurt parfait. For dessert, serve them alongside a cheese board, dip them in melted dark chocolate, or pair them with a mug of warm mulled apple cider on a chilly afternoon.
Storing & Freezing
Because they're still soft and have no added sugar or preservatives, these apple rings are best within a few days. Once they've cooled completely, store them in an airtight container or zip-top bag at room temperature for up to 2 days, or in the refrigerator for up to a week. If they start to feel sticky, a few minutes in a 200°F oven will dry them out again.
To freeze, lay the cooled rings in a single layer on a baking sheet until firm, then transfer them to a freezer bag with parchment between the layers. They'll keep for up to 3 months. Thaw at room temperature for 15 to 20 minutes; they're also surprisingly good straight from the freezer as a cold, chewy snack.

More Apple Recipes
If you love these apple rings, be sure to check out these other delicious ideas:
- Crispy Apple Fritters
- Apple Crisp
- Apple Cake
- Vegan Apple Oatmeal Cookies
- Sneaky Green Apple Fruit Leather
📖 Recipe
Equipment
- mandoline slicer optional
- food dehydrator optional, for the dehydrator method
Ingredients
- 1 extra-large apple, (Honeycrisp, Pink Lady, Fuji, Braeburn, or Gala work well)
- ¼ teaspoon ground cinnamon
- ⅛ teaspoon ground ginger
- ⅛ teaspoon ground cardamom
- 1 pinch ground cloves
Instructions
- Preheat the oven to 225°F and line a large baking sheet with parchment paper.
- Wash the apple and remove the core with an apple corer, pushing it straight down through the stem end. Use a mandoline slicer to slice the apple crosswise into rings between ⅛- and ¼-inch thick. (If you don't have a slicer, don't worry, you can do it by hand with a sharp knife; just keep the slices as even as you can.) Place the apple rings in a large bowl.
- Combine the cinnamon, ginger, cardamom, and cloves in a small pinch bowl. Sprinkle the spices over the apple rings and use your hands to gently toss to coat.
- Arrange the apple rings in a single layer on the baking sheet so they aren't touching. Bake for 60-90 minutes, flipping the rings halfway through, until they're dried and shriveled at the edges but still soft and tender.
- Let the apple rings cool on the baking sheet for 10 minutes; they'll firm up a little as they cool. Serve or store in an airtight container.



Ronnie Fein says
Yes, chewy is wonderful. So are fresh apples. I never get to core my apples well. Don't care though, because they're just for us.
Kiersten says
Yeah, I guess it doesn't matter too much, although sometimes when it takes 2-3 times to get the core out, there's more hole than apple in my rings!
Stacy says
I don't have a problem when I core small apples, but with the large ones I do. One day I asked my husband to core a large apple for me and when I came in the room he had a perfectly cored apple, he used the pineapple corer!
Aidan says
I slice my apples, then cut the core out of each slice with a sharp little biscuit cutter I found at Sur La Table. It works really well and looks nicer than when I cored the apple and then sliced it.
Kiersten says
That is a great tip!
Christelle Lochner says
I think that the reason for the corer not going through the apple straight is the fact that the apple is not really standing upright because the bottom is not flat. Try cutting a small piece off the bottom of the apple so that it can stand on a flat 'foot piece'.
Kiersten says
I am going to do that next time! Thanks for the tip. 🙂
Ulla Lorriman says
I have just acquired a wonderful gadget to core,peel and slice an apple all in one go, it takes about ten seconds! A complete joy as I stew apples every other day during the winter months.The gadget costs £15 from Lakeland.
It looks and feels nicely oldfashioned.
Caitlin says
apple rings remind me of my dad because he loves a salad at panera with them in it. these look delicious. i love that they are soft. never liked tough apple rings.
Kiersten says
Do they really sell a salad with apple rings in it?! Oh man. But I bet it has meat in it too, right? 😛
Heather says
it's a really good salad, but it does have chicken on it. No reason you couldn't request it without the chicken. All the salads are made to order.
Kiersten says
I didn't know that! I've tried to order sandwiches without the meat there and they said they couldn't do that, so I assumed it was the same for salads.
Eat Good 4 Life says
I have made these apple rings before, well very similar recipe, and everyone enjoyed them. I need to make them again. They are such great snack. I love that you added cloves to them.
Kiersten says
I love cloves! My mom used to always stick cloves in oranges for a homemade air freshener, so whenever I smell them, I think of that. 🙂 But a little goes a long way!
Alexis @ Hummusapien says
I've made a similar recipe before with just cinnamon and they were awesome!! I love the cardamom addition in yours. By the way, your pictures have been just stunning lately lady!
Kiersten says
Aw, thank you. 🙂 I spent a lot of time pondering how to photograph dried apples. They're not the post photogenic food. 😉
Emily says
Have you tried flipping the apple over and coring from the bottom instead of the top? That might work a bit better.
These look delicious, if I had apples on hand I'd make a batch. We have pears...hmmm...
Kiersten says
Hmm, no, I haven't. I'm going to have to give that a try! I've never made dried pears before, but I bet they are delicious too!
Zarah says
They really are! My mom used to make dried pears, like this, with the pears from our garden and I looooved them even more than dried apples, which I loved plenty. Hope you try!
Stephanie @ henry happened says
I hate coring apples too - I always have to flip it over & push it through the bottom with my fingers & it hurts! These look so yum - they've been on my to make list since last fall!
Kiersten says
I made Chris try it to see if maybe I just suck at coring apples, but nope, he couldn't do it either. What's up with that?!
Holly says
I just made these earlier this week and, I too, was frustrated by the trouble of coring the apple! My first try I didn't core at all, just took out the seeds but then eating the apple chips wasn't great when I got to the core. Second try didn't fare much better and next go round I am going to use my apple corer that I generally save for apple pie making when I have lots of apples to work on. I liked mine chewy too and next time won't bake them quite as long. I am going to try your spice combination. Sounds great!
Kiersten says
Yeah, usually I make the apple chips without coring! But then I thought maybe it would be better to core them first because it's annoying to eat around the middle. I definitely like coring them first more, although they don't look quite as nice that way.
Deb says
Sounds so tasty! I use a coring method I saw on an old Jacques Pepin tv show; the apples need to be cut in half, though. Cut in half and then use a melon baller to cut a V at the top and bottom to cut those out, then use the melon baller to cut out the seeds and core on each half. Works for pears, too.
Kiersten says
Thanks for the tip! 🙂
Kelly @ A Girl Worth Saving says
I love simple so this looks beautiful Kiersten! Also, it has much less calories than a cake, lol. 🙂
Kiersten says
They are really good. 🙂 And they're accidentally paleo!
Sonja says
Don't try to dug in the corer from one side to the next. That is what results in the corer going in sideways at the other end. Instead, try coring with a 'screwing' motion, by turning the apple around in your one hand and controlling (screwing in) the corer with the other. This makes you have better control over the corer. But never expect an almost symmetrical result, because apples are NOT symmetrical. All the best!
Kiersten says
Ah, that makes sense! I will try that. Thank you!
Laura (Tutti Dolci) says
These apple rings look so good, I love the warming spices!
Ginger says
I just made a big batch of apple rings yesterday. I really wish I'd read this post beforehand. Oh well, just an excuse to make more, right? 😉
Kiersten says
Hey, they're healthy! So yes, definitely make more. 🙂
Nicole says
I just came back from apple picking and was planning on making apple chips tonight - maybe I'll make em chewy!
Kiersten says
They are so good chewy! I like them crispy too, of course. 🙂
Ruta says
This looks like a perfect way to finish off those apples we picked. And I like how you left the peels on. Thanks!
Kiersten says
I always leave them on--my mom drilled into my head growing up that the peels are the healthiest part. 😉
rika@veganmiam says
The chips look so tasty!!!! Miam miam!
Erin @ Texanerin Baking says
I finally read the post and saw that you mentioned me. Weeee! 😀 Thanks a ton!
I have trouble with the apple corer too. There have been many, many bloody accidents. At least the husband is always around to take over. 🙂
Your chewy apple chips look great! Love that you didn't use any sweetener at all. 🙂
Kiersten says
Oh man, I've never had bloody accidents with my corer. (My mandoline slicer is another story...) That sounds painful!
Genevieve says
Glad you posted this! I just bought a bag of those dried apple chips from the store the other day because they were on sale, but even still I found myself thinking it would be a lot more economical to make a batch at home...and now I know how! And I can make chai flavoured ones!
Kiersten says
I think they're a lot tastier when you make them at home too. 🙂
Heather says
What if you didn't core them before you sliced them. you could use your corer on each individual slice and only cut out what you need. I don't have a corer so that's what I do, but I use a mellon baller to cut out the core from each slice.
Kiersten says
I was thinking about that too. Next time! 🙂
Shirley says
I used to do that all the time with my corer. Lately I insert the corer through the top and stop halfway, then pull it out. Flip over the apple, and insert it through the bottom. This usually works, and if the core comes out in one piece (sometimes it breaks in two) it's bent. Must be why it never works for us to push the corer straight through.
Kiersten says
Ooh, I never thought of doing it that way--you are a genius!
becki kramer says
I use my melon baller to get the core out. Works perfectly and no cuts on the hand!
Kiersten says
Thanks for the tip!
Elyse @ Lizzie Fit says
Apple rings are my favourite dried fruit. Hands down!
Susannah says
I'm a couple years late, but here's a tip if you're doing apple slices again this season: DON'T BOTHER CORING! They make a pretty pattern in the slices and save you a ton of work. Just ditch the seeds, which contain small amounts of cyanide.
Love your site!
Julie says
There is a great gadget I found at Menards that peels, cores, and sliced apples at the same time. Is you want to leave skin on you can pull bake the blade and just core and cut. I have made 1/2 a cooler of apples into applesauce in a single evening using this tool. Well worth the $10 (yep...$10) I spent on it!!
Kiersten says
I'm going to have to look for that! I was just making applesauce for my daughter yesterday and cursing my peeler. 😉
Mary says
One time I sliced apples before coring them. So I cored the slices individually. It's one of those why-didn't-I-always-do-this moments.