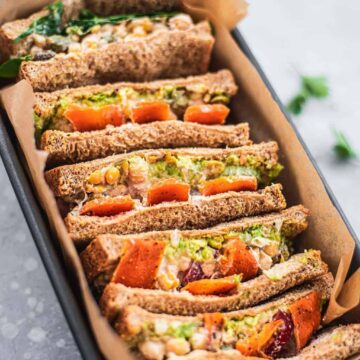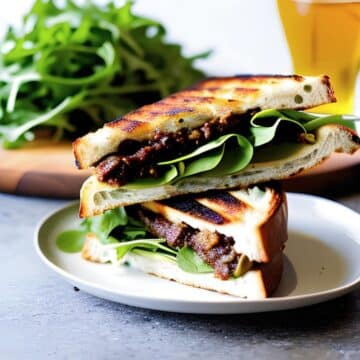

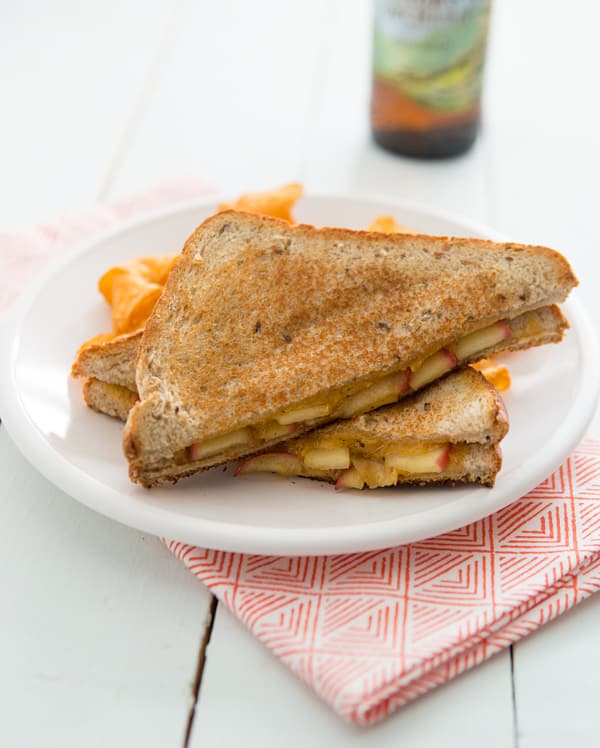
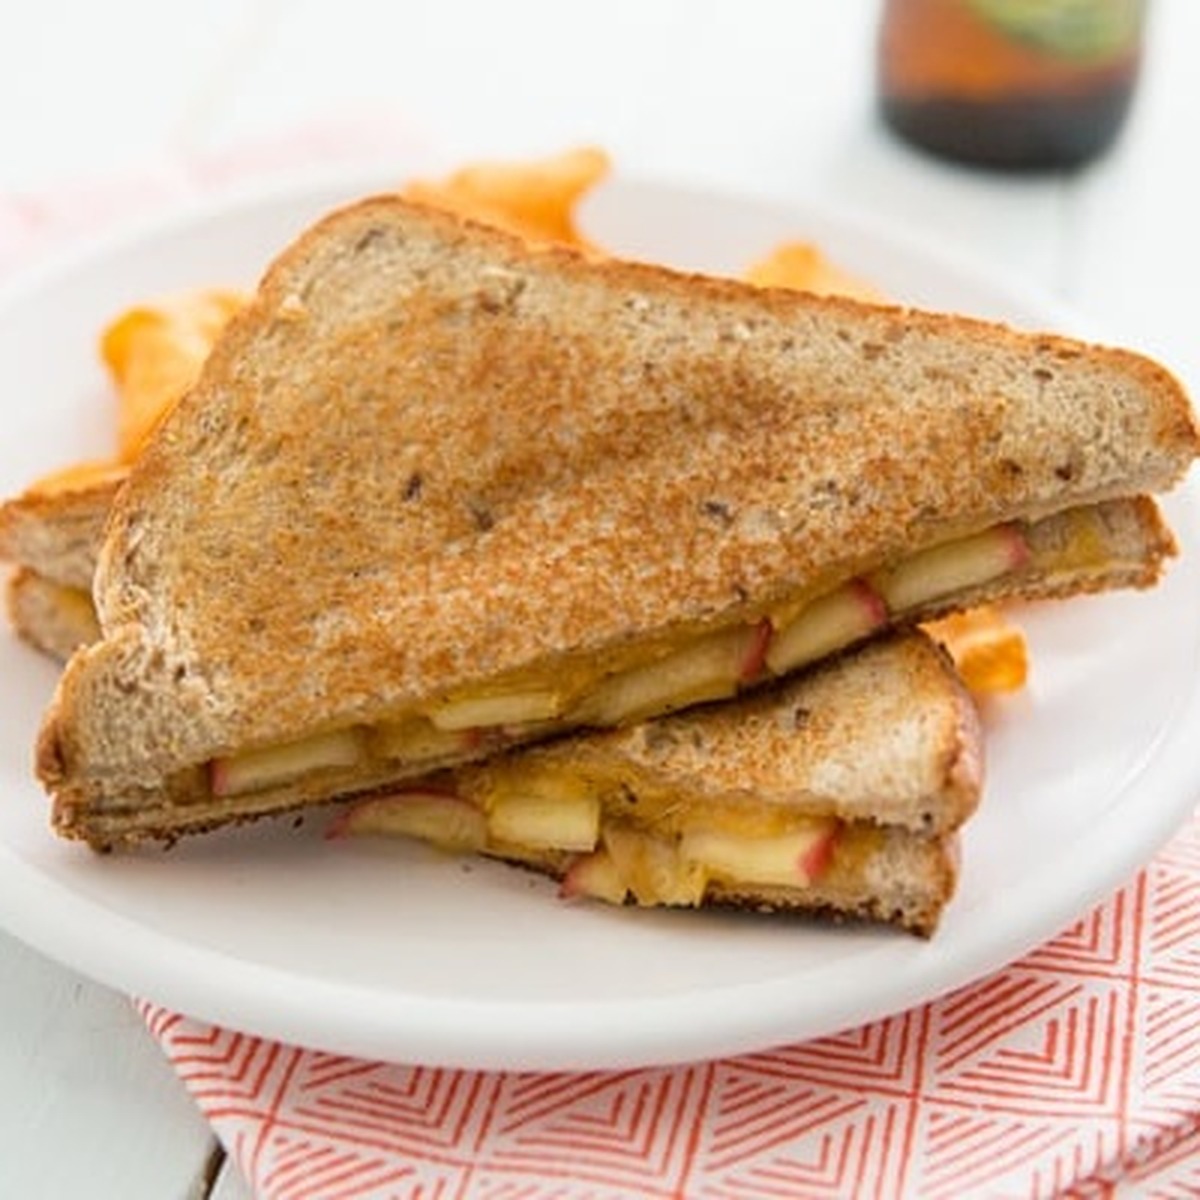
Maple-glazed apples, melty sharp cheddar, and a whisper of sage tucked between two crisp, buttery slices of bread - this grilled cheese turns a lunchtime staple into something worth planning your day around.
Key Ingredients & Substitutions
- Apples. Honeycrisp or Braeburn are my go-tos here - they hold their shape when sautéed and have enough natural sweetness to play well with the maple syrup. Granny Smith works too if you want more tartness to balance the cheese.
- Maple syrup. Use real maple syrup, not pancake syrup, for the best flavor - it's what gives the apples that light, glossy glaze.
- Dried sage. Adds a warm, earthy note that pairs beautifully with apples and cheddar. If you only have fresh sage on hand, use about a tablespoon of finely chopped leaves in place of the teaspoon of dried.
- Sharp or smoked cheddar cheese. Sharp cheddar melts into that classic gooey, stringy grilled cheese texture. Smoked cheddar brings a deeper, almost bacon-y flavor if you want to switch things up.
- Bread. Any whole grain or whole wheat bread works well here - look for a hearty, seed-studded loaf that's still tender rather than dry or tough. The bread is doing a lot of work in this sandwich, so it's worth reaching for a good one.
Helpful Tips
Don't rush the apples. Give them the full 5 to 7 minutes in the skillet before adding the maple syrup - you want them golden and just beginning to caramelize at the edges, not merely warmed through. That extra bit of color is where a lot of the flavor comes from.
Butter the bread, not the pan. Buttering the outside of each slice (rather than the skillet) gives you an even, deeply golden crust and keeps the butter from pooling and burning.
Layer the cheese on both sides. Splitting the cheese so it's touching both slices of bread, with the apples sandwiched in the middle, helps everything melt together and hold the sandwich intact when you cut it.
Keep the heat at medium. Grilled cheese is a patience game - too-high heat browns the bread before the cheese has a chance to melt. Medium heat and a few extra minutes per side gets you a fully melted center with a crisp, evenly toasted crust.
Let it rest for a minute before cutting. Pulling the sandwich straight off the heat and slicing it immediately can cause the melted cheese and apples to spill out. A one-minute rest firms things up just enough for a clean cut.
Variations
- Swap the cheese. Gruyère, fontina, or a good melting Swiss all work beautifully in place of cheddar if you want a milder, nuttier flavor.
- Try pears instead of apples. Thinly sliced pears sauté up just as well and bring a softer, honeyed sweetness - our Pear and Sharp Cheddar Grilled Cheese Sandwich is built around the same idea.
- Add greens. A handful of baby spinach or arugula tucked in with the apples adds a fresh, slightly peppery contrast to the sweetness.
- Make it a mushroom version. Sautéed mushrooms and onions with a little fresh thyme make a savory substitute for the apples - if that sounds good to you, you'll probably also love our Grilled Portobello Panini with Artichoke Tapenade.
- Spice it up. A pinch of cayenne or a few dashes of hot sauce stirred into the apples adds a nice kick against the sweet-savory filling.
- Go open-faced. Skip the top slice of bread and finish the sandwich under the broiler for a couple of minutes to melt the cheese - an easy shortcut for a quick lunch.
Serving Ideas
This grilled cheese is filling enough to stand on its own, but a simple side rounds it out nicely. A crisp green salad with a light vinaigrette cuts through the richness of the melted cheese, or go the cozy route with a bowl of tomato soup for dunking.
It's also a great addition to a game day or party spread - cut the sandwiches into smaller wedges or triangles and set them out alongside other easy apps. If you're already building an apple-and-cheddar menu, our Apple Cheddar Pizza with Caramelized Onions & Walnuts makes a great companion dish, and Grilled Halloumi Cheese is an easy vegetarian option if you want another warm, cheesy bite on the table.
Storing & Freezing
Leftover sandwiches can be wrapped tightly or stored in an airtight container in the refrigerator for up to 2 days. The bread will soften as it sits, so plan to reheat rather than eat it cold.
These grilled cheese sandwiches don't freeze particularly well - the apples turn watery and the bread gets soggy once thawed. If you do want to freeze the components separately, the cooked maple sage apples freeze fine on their own for up to a month; just thaw and reheat them in a skillet before assembling a fresh sandwich. To reheat a fridge sandwich, warm it in a skillet over medium-low heat for a few minutes per side (rather than the microwave) to bring back the crisp crust.
More Vegetarian Sandwiches & Wraps
If you loved this recipe, here are a few more you might enjoy:
- Roasted Red Pepper Sandwiches with Mozzarella & Pesto
- Panera-Style Tomato and Mozzarella Panini
- Pesto-Roasted Veggie Sandwiches
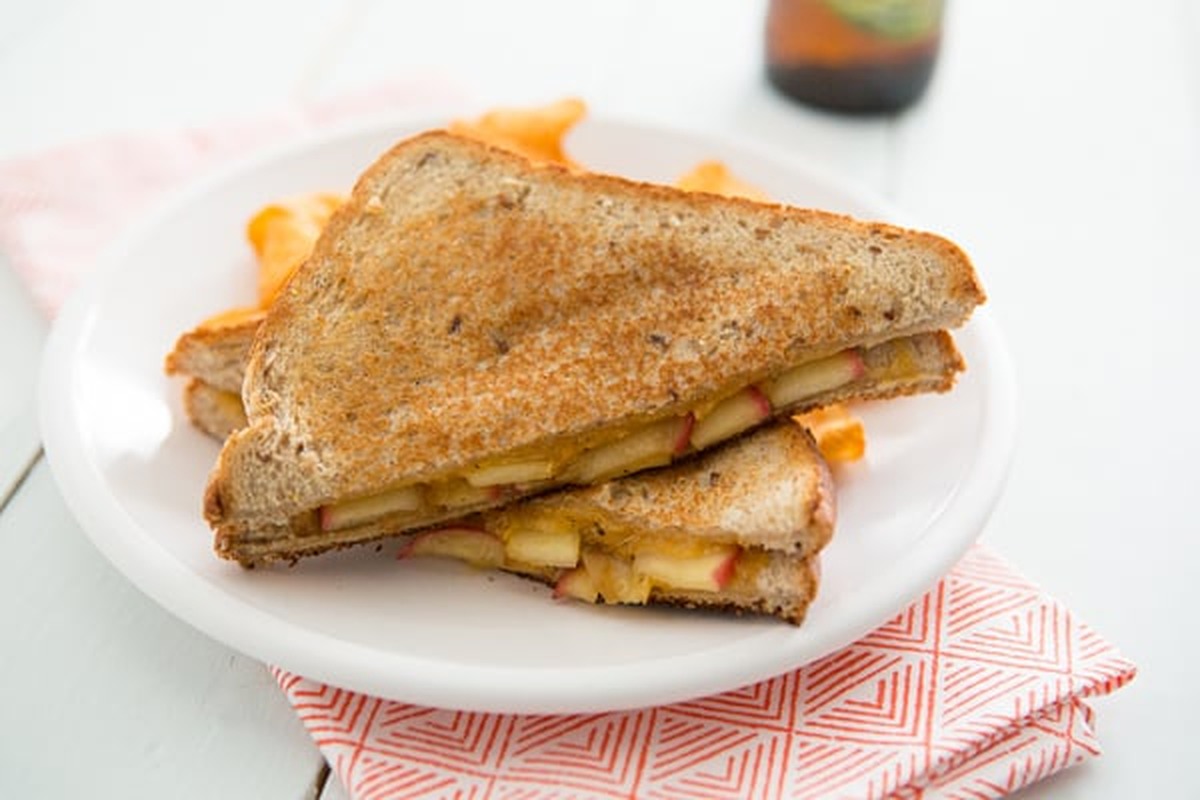
- Vegan Chickpea Salad Sandwich (No Mayo!)
📖 Recipe
Ingredients
- 1 tablespoon butter, plus more to spread on bread
- 2 small apples, thinly sliced (I like Honeycrisp or Braeburn)
- 1 tablespoon maple syrup
- 1 teaspoon dried sage
- Salt and pepper to taste
- 8 slices whole grain or whole wheat bread, any hearty whole grain or whole wheat sandwich bread works well
- 4 ounces shredded sharp or smoked cheddar cheese
Instructions
- Melt the butter in a medium skillet over medium heat. Add the sliced apples and cook, stirring often, for 5 to 7 minutes, or until golden and just beginning to brown at the edges. Drizzle the maple syrup over the apples and continue cooking, stirring, for 2 to 3 minutes more, until the syrup forms a light glaze on the apple slices. Stir in the sage, season with salt and pepper, and remove from the heat.
- Preheat a large griddle or skillet over medium heat. Butter one side of each slice of bread. Place a slice buttered-side down on the griddle, then layer with ⅛ of the shredded cheese, ¼ of the maple sage apples, and another ⅛ of the cheese. Top with a second slice of bread, buttered-side up. Repeat to build 4 sandwiches.
- Cook the sandwiches for 3 to 5 minutes per side, until the bread is golden brown and the cheese has melted (timing will vary depending on your griddle or stovetop, so keep an eye on them). Transfer to a cutting board, cut in half, and serve warm.