
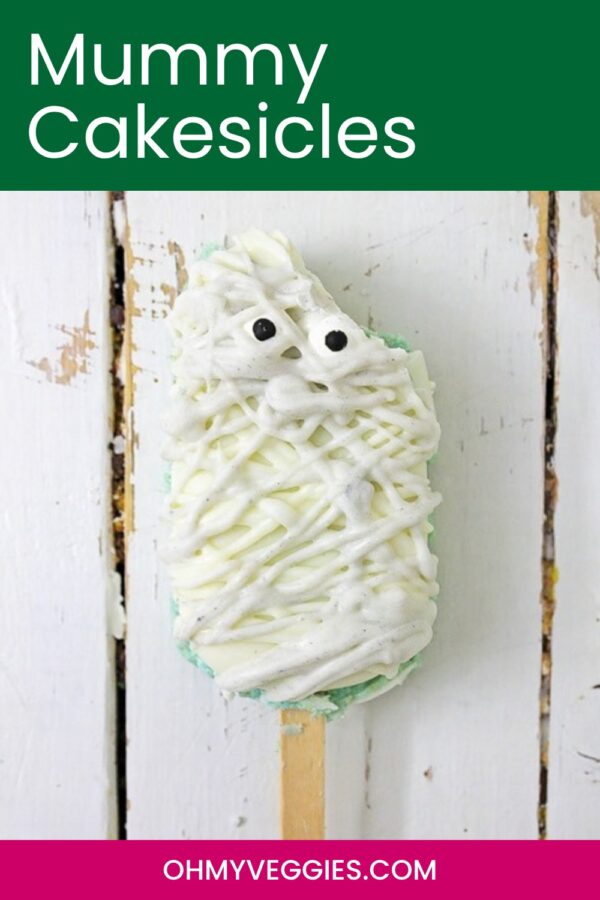
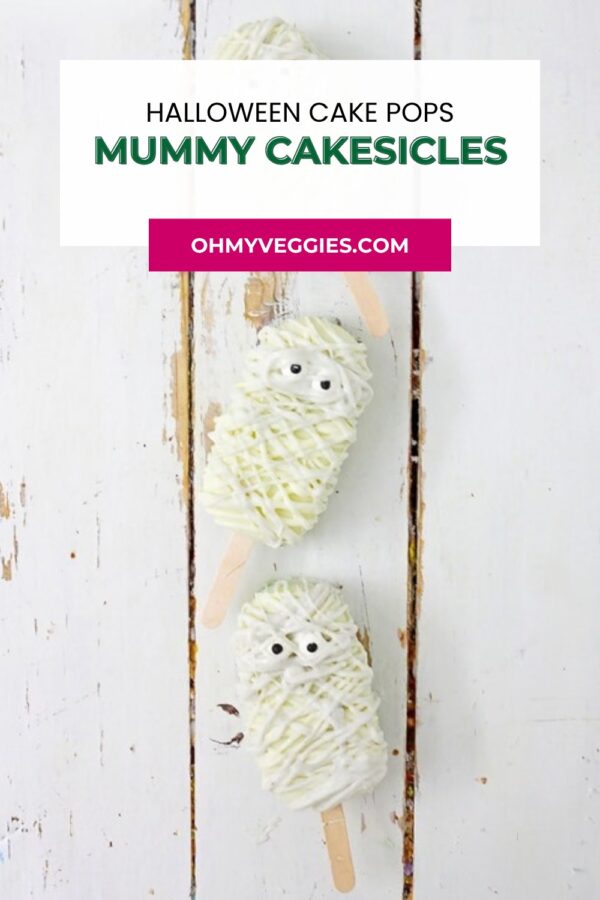

These spooky Halloween cake pops will add a festive and delicious touch to your party. A simple white cake is combined with rich vanilla frosting and dipped in white chocolate, then decorated into adorable mummy cakesicles! Perfect for all the little ghouls and goblins.

It's trick or treat time again! Halloween is on its way and that means it's time to get working on those special Halloween treats.
A big batch of these mummy cakesicles are sure to be a hit with kids (and the adults too).
Bundle them in a goodie bag to give out as party favors, serve them up at the kids' Halloween party at school, or just enjoy them as a delicious treat for get togethers or trick or treating.

Cakesicles have become trendy Halloween desserts lately. But what are cakesicles, anyway? They are simply popsicle-shaped cakes, that you eat on a stick like a popsicle.
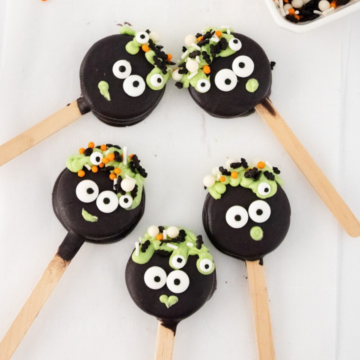
You can decorate these cute cake pops any way you can imagine - think ghosts, bats, goblins, spiders and mummies!
So, don't be intimidated by the look of these fun mummy cakesicles. These are really pretty easy to make, and they're great fun to decorate too!
And if you need some more Halloween dessert ideas, be sure to check out these mummy cupcakes, these Halloween cut-out cookies, or even this spooky Black Forest Cake.
Key Ingredients & Substitutions
- White cake. A from-scratch white cake gives the cake pops a soft, tender middle and a clean vanilla flavor. A boxed white or vanilla cake mix works too if you're short on time. For a dairy- and egg-free version, bake our vegan vanilla cake instead.
- Vanilla buttercream. The frosting is the glue that turns cake crumbs into a moldable "dough." Homemade or store-bought both work. Add it gradually, since too much frosting makes the filling soft and greasy.
- White chocolate melts. Candy melting wafers melt smoothly and set up firm and snappy, which is exactly what you want for the outer shell. Real white chocolate chips can be used, but they're thicker when melted and softer once set; stir in about 1 teaspoon of coconut oil per cup to help them flow.
- Candy eyes. These little candy eyeballs are what turn a drizzled cakesicle into a mummy. Two per pop is classic, but mismatched sizes make them extra silly.
- Gel food coloring. Optional, but a few drops of gel food coloring in the frosting gives the inside a surprise pop of color when someone bites in. Gel colors are concentrated, so they won't thin the frosting like liquid drops.
- Cakesicle molds and sticks. Silicone cakesicle molds release the finished pops cleanly. Most sets come with wooden popsicle sticks.
How to Make Mummy Halloween Cake Pops
These easy cake pops are so simple to make. It's basically just cake and frosting, dipped in white chocolate, and served on a popsicle stick. This is a fun recipe to make with the kiddos!

Some people make pops out of prepared box of cake mix combined with some store-bought frosting to save time. So if you want to cheat a little - you can definitely do it that way.
I prefer to make my cake pops from scratch because I can mix and match whatever cake and frosting flavors my family loves, and the flavor is so much better than using boxed cake mixes and prepackaged frosting.
In this recipe, I use a basic white cake recipe and a homemade buttercream frosting.
So we start off by baking the cake - and then crumble it up into pieces. Mix in the frosting, and a bit of food coloring if you want a pop of color! I used blue gel coloring. This delicious mess becomes our cake pop "dough".

Then you'll want to melt some white chocolate in the microwave. I like using the Wilton's candy melts because they're so easy to work with.

Next pour a thin layer of the white chocolate into the cakesicle molds and refrigerate until it hardens.

Next you can smush your cake and frosting mixture into the molds, forming your cakesicles.

Pour the remaining white chocolate over the top and freeze it again until the chocolate has hardened into a thick and crunchy outer layer.
Don't forget to add your popsicle sticks before putting the cake pops in the freezer.

Decorating the Halloween Cake Pops
When the chocolate has set, remove each cakesicle from the molds.
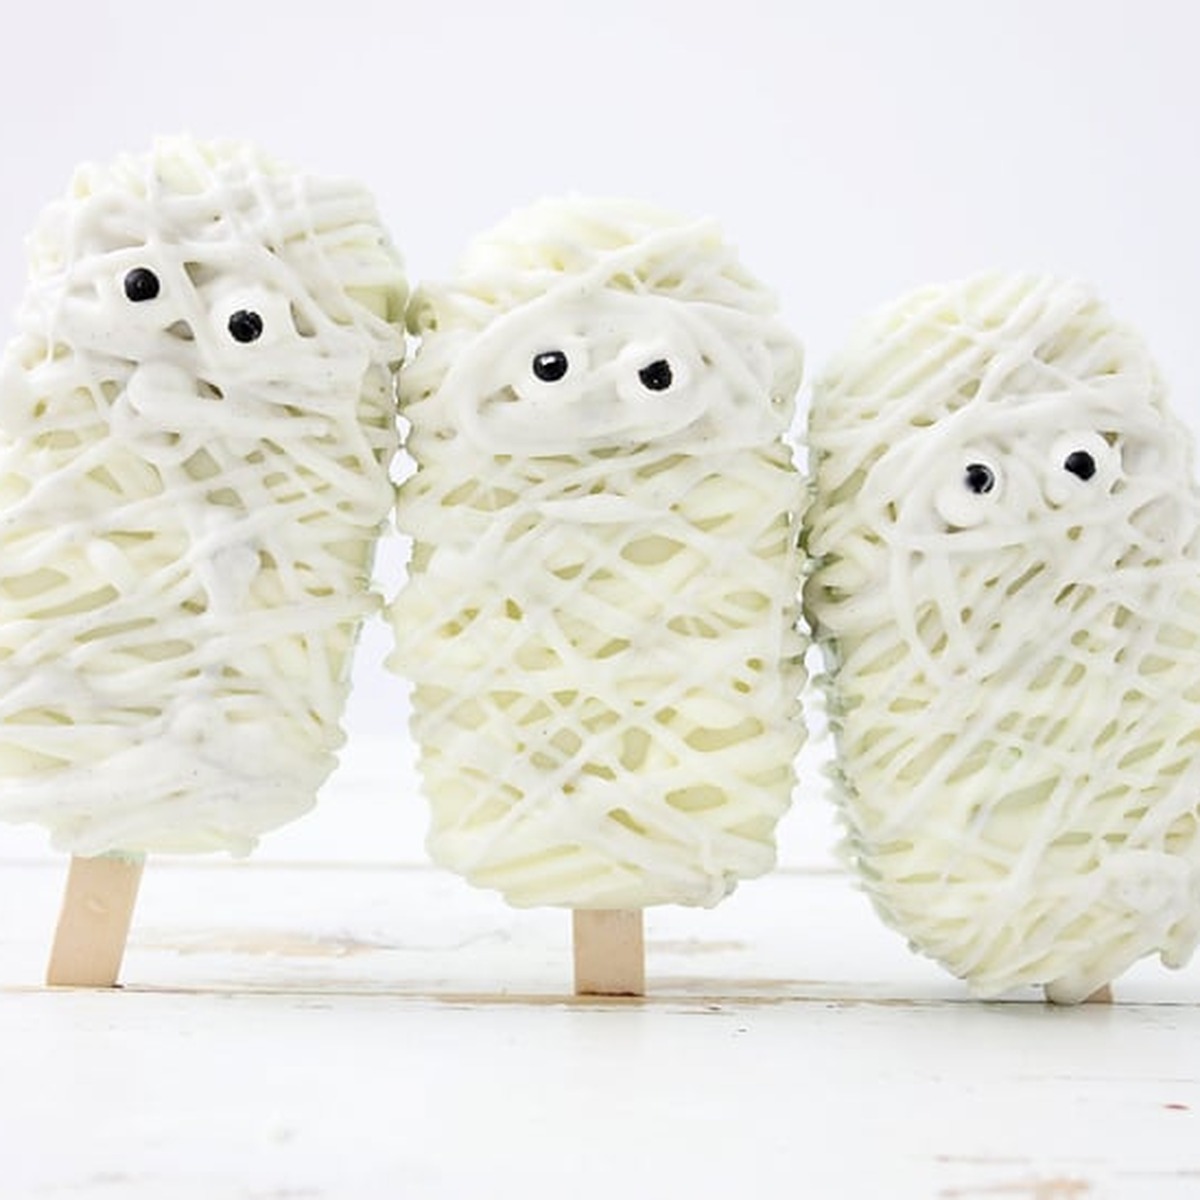
Line them up on some parchment paper. Add some melted white chocolate to a pastry bag, and start drizzling back and forth across the cakesicles to form what looks like bandage wrappings around the mummies.
Of course, no mummy is complete without candy eyeballs. I use these candy eyeballs for decorating.
Secure the eyes by putting a dab of chocolate where you want the eyes to be on the mummies and then press the eyes gently into the white chocolate.

Helpful Tips for Perfect Mummy Cakesicles
Drizzle some of the white chocolate around the eyeballs to make them look as though they're peeking out from under the bandages. Spooky and fun!
Make a vegan version: You can make this recipe vegan by using a vegan white cake mix, a vegan-friendly frosting, and dairy-free white chocolate melts. (And also be sure to grab a copy of my free vegan baking cheat sheet too!)
Use a silicone mold. You'll need some type of cakesicle mold to pull off this recipe. I like these silicone ones, because the cake pops don't stick to it!
Choose gel coloring. Use a gel food coloring for the most vibrant colors. Experiment with any color you like for the cake mixture.
Get the filling texture right. Add the frosting a little at a time and stop as soon as the crumbs hold together when you squeeze a handful. Filling that's too wet can seep through the shell or make the cakesicles slump once they warm up, so you may not need every bit of the frosting.
Check the shell for thin spots. After the first coat of chocolate sets, hold the mold up to the light. Any see-through patches are likely to crack when you unmold, so brush on a little more chocolate and chill again before filling.
Melt the chocolate low and slow. Microwave candy melts in short bursts and stir well between each one. Overheated melts turn thick and clumpy; if that happens, stir in a little coconut oil to loosen them before drizzling.
Variations
- Ghost cakesicles. Skip the drizzle and give each pop a smooth white coat, then add two chocolate-chip eyes and a little oval mouth piped in dark chocolate.
- Frankenstein pops. Use green candy melts for the shell, pipe black hair across the top, and finish with candy eyes and a stitched mouth.
- Chocolate mummies. Swap in chocolate cake and chocolate frosting for the filling so the mummies have a dark, surprise center.
- Pumpkin patch cakesicles. Fill them with spice cake and cream cheese frosting, coat them in orange melts, and pipe a small green stem at the top.
- Candy corn colors. Tint the filling orange and yellow in layers and top the drizzled mummies with a few Halloween sprinkles.
Serving Ideas
Mummy cakesicles are made for Halloween parties. Stand them upright in a foam block hidden inside a basket or pumpkin, lay them out on a black platter so the white bandages really pop, or wrap each one in a cellophane treat bag tied with orange ribbon to hand out as party favors and classroom treats.
Having a party? Make a full Halloween dessert table with these mummy cupcakes, Halloween cookies, and this spooky cake. A bowl of caramel popcorn balls and a pot of warm apple cider round out the spread nicely.
Storing & Freezing
Store the finished cakesicles in an airtight container in the refrigerator for up to 5 days, in a single layer or with parchment paper between layers so the drizzle doesn't get squashed. Let them sit at room temperature for 10 to 15 minutes before serving so the cake inside softens.
To freeze, set the decorated cakesicles on a parchment-lined tray until solid, then transfer them to a freezer container and freeze for up to 1 month. Thaw them overnight in the refrigerator, still in the closed container, so condensation forms on the container instead of the chocolate. You can also freeze the undecorated cake crumbs for up to 2 months and assemble the pops later.

Happy Halloween!
More Halloween Treats
If you loved this recipe, here are a few more you might enjoy:
- Halloween Mummy Brownies
- Halloween Oreo Pops
- Spooky Vegan Halloween Cookies
- Spooky & Sweet Halloween Desserts
📖 Recipe
Equipment
- Cakesicle Molds with popsicle sticks
Ingredients
FOR THE CAKE
- 3 cups all-purpose flour
- 1 tablespoon baking powder
- ½ teaspoon baking soda
- ½ teaspoon salt
- 2 ¼ cups sugar
- 1 cup butter, 2 sticks
- 2 eggs
- 1 ⅓ cups milk , (you can use Soy, or Almond, or whatever you prefer)
- 1 teaspoon vanilla extract
FOR THE FROSTING
- 2 sticks butter
- 4 cups powdered sugar
- ¼ cup milk, plus up to ¼ cup more, as needed
- 1 teaspoon vanilla extract
- gel food coloring, blue or your favorite color
FOR THE COATING - OUTSIDE LAYER
- 12 oz white chocolate melts, divided (have a few extra ounces on hand)
- candy eyes, about 24 (2 per cakesicle)
Instructions
FOR THE CAKE
- Preheat the oven to 350°F (175°C).
- In the mixing bowl of a stand mixer, cream the butter and sugar until light and fluffy.
- Add the vanilla and eggs, and mix until completely blended.
- In a separate bowl, mix the flour, salt, baking soda, and baking powder, until well blended. Add the flour mixture and the milk to the mixing bowl, a little at a time, mixing on low speed between additions until all ingredients have been added. Mix on high for about 1 minute to make sure all ingredients have been well incorporated.
- Coat the bottom and sides of a 9 X 13 baking pan with butter or non-stick cooking spray, and pour the cake batter into the dish.
- Bake for 30 to 40 minutes, or until a toothpick inserted in the center comes out clean. Remove to a wire rack to cool completely.
TO MAKE THE FROSTING
- Wash and dry the mixing bowl and whisk attachment. Add the 2 sticks of softened butter, milk, and vanilla to the mixing bowl, and mix to blend. Add a few drops of the food coloring, if using.
- Add the powdered sugar a little bit at a time, mixing on low speed until all the sugar has been added. If the frosting is too stiff, beat in more milk a tablespoon at a time; if it's too thin, add a little more powdered sugar until it's thick and spreadable.
TO ASSEMBLE THE MUMMYSICLES
- Place the frosting in the refrigerator until the cake is cool. When the cake is cool to the touch, break it up into fine crumbs. You can do this right in the pan it was baked in. Add the frosting a little at a time (start with about 1 cup) and stir the cake and frosting together until the mixture holds together when you squeeze it. It should be thick enough to hold its shape in the cakesicle molds without feeling greasy or sticky, so you may not need all of the frosting. Set aside.
- In a microwave-safe bowl, melt the white chocolate in the microwave in 10- to 15-second intervals, stirring between each, until it's smooth.
- Spoon a bit of the white chocolate into each cakesicle mold cavity, and tilt the mold in both directions to coat the inside completely with a thin layer of white chocolate. Place the molds in the freezer for 30 minutes to allow the chocolate to set.
- When the chocolate is set, place a heaping spoonful of the cake mixture into each mold and press it in firmly to form the cake pop, leaving a little room at the top. Insert a popsicle stick into each cavity through the notch at the end, pressing it about halfway into the cake mixture. Reserve a bit of the white chocolate for decorating.
- Rewarm the white chocolate in the microwave for a few seconds if needed. Spoon it over the cake pops, using a spatula to completely cover and seal the back of each cakesicle. Place the molds in the refrigerator for about 1 hour to completely set the white chocolate.
- When the chocolate is set, gently peel the molds away and remove the cakesicles. Place them on a sheet of parchment paper.
- Rewarm the remaining white chocolate until it is smooth and melted. Spoon it into a pastry bag and snip off the tip of the bag, leaving only a small hole. Drizzle the white chocolate back and forth across the cake pops so it looks like bandage wrappings on each mummy.
- Add the candy eyeballs, using a bit of melted chocolate to stick them to the mummy.
- Place the cake pops in the refrigerator for about 1 hour to allow the drizzled chocolate and eyes to set.


Something to say? Leave a comment.