
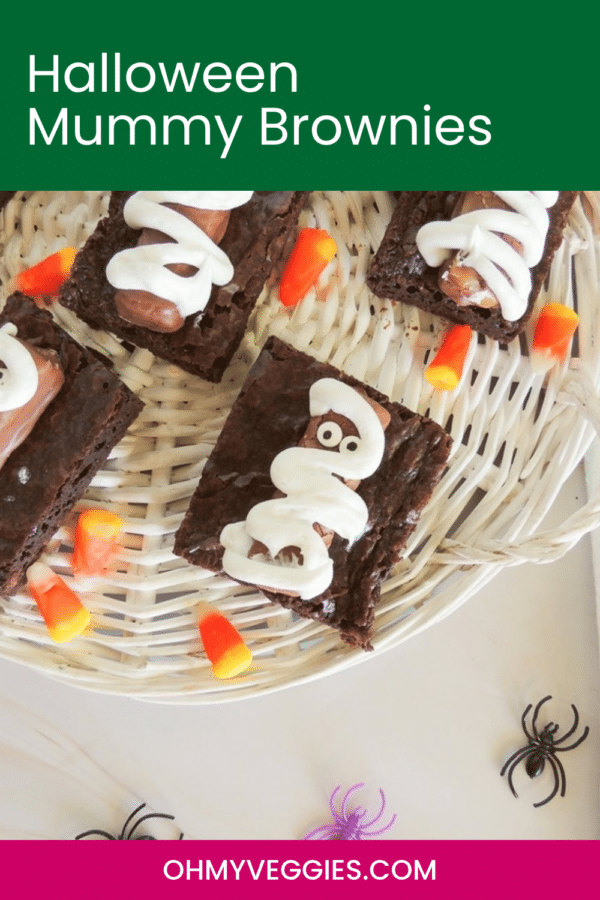


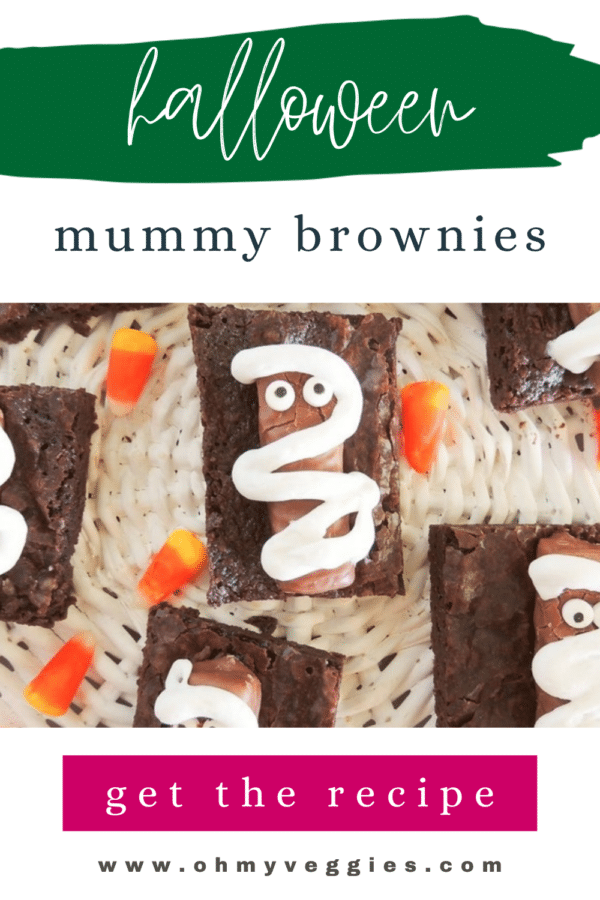
Unwrap some spooktacular fun with these mummy-inspired Halloween brownies! Perfect for your next haunted gathering or simply to satisfy a monstrous sweet tooth.

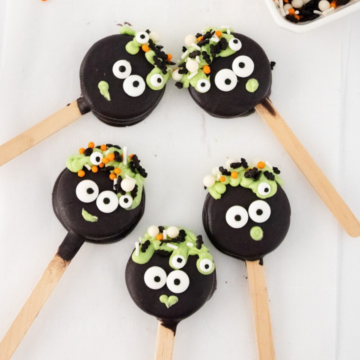
I'm on a Halloween sugar high this week - I kicked things off with Halloween Oreo Pops and now we're on to these Halloween brownies. Yum.
If you're looking for an impressive Halloween treat that won't take you all day to make, this is the one. The mummy decorations are super simple to pull off, and easy enough to make with the kids.
And if you love this idea - be sure to check out my Mummy Cake Pops and Mummy Cupcakes too!

Supplies You'll Need
In addition to your basic brownie ingredients, you'll need a few items for making those cute little mummies.
Mini Twix Bars - You want these miniature sized Twix bars so they can fit on top of your brownies.
White Cookie Icing - Grab a tube of white frosting to draw on those mummies. I like this kind that comes with a piping tip attached.
Edible Eyes Candies - Add some candy eyeballs for that final spooky touch!
Key Ingredients & Substitutions
- Butter. Melted butter is what gives these brownies their dense, fudgy texture. Unsalted lets you control the salt; if you only have salted butter, skip the added ¼ teaspoon of salt. Vegan butter works cup-for-cup (see the vegan section below).
- Sugar. Two cups of granulated sugar sounds like a lot, but it's what creates that shiny, crackly top. Organic cane sugar is a good pick if you're baking for vegans, since some conventional white sugar is filtered with bone char.
- Eggs. Four large eggs bind the batter and give it lift. Let them come to room temperature so they blend smoothly into the warm butter and sugar.
- Cocoa powder. Use a good-quality unsweetened cocoa powder. Natural or Dutch-process both work here; Dutch-process gives a darker, slightly mellower brownie.
- Flour. Regular all-purpose flour keeps things simple. A 1:1 gluten-free baking blend is the easiest swap if you need these gluten-free (just double-check your candy toppings, too).
- Chocolate chips. Optional, but they add pockets of melty chocolate. Semi-sweet, dark or dairy-free chips all work.
- Shortcut option. Short on time? A boxed brownie mix baked in a 9x13-inch pan works fine as the base. The decorating steps stay exactly the same.

How to Decorate Mummy Brownies
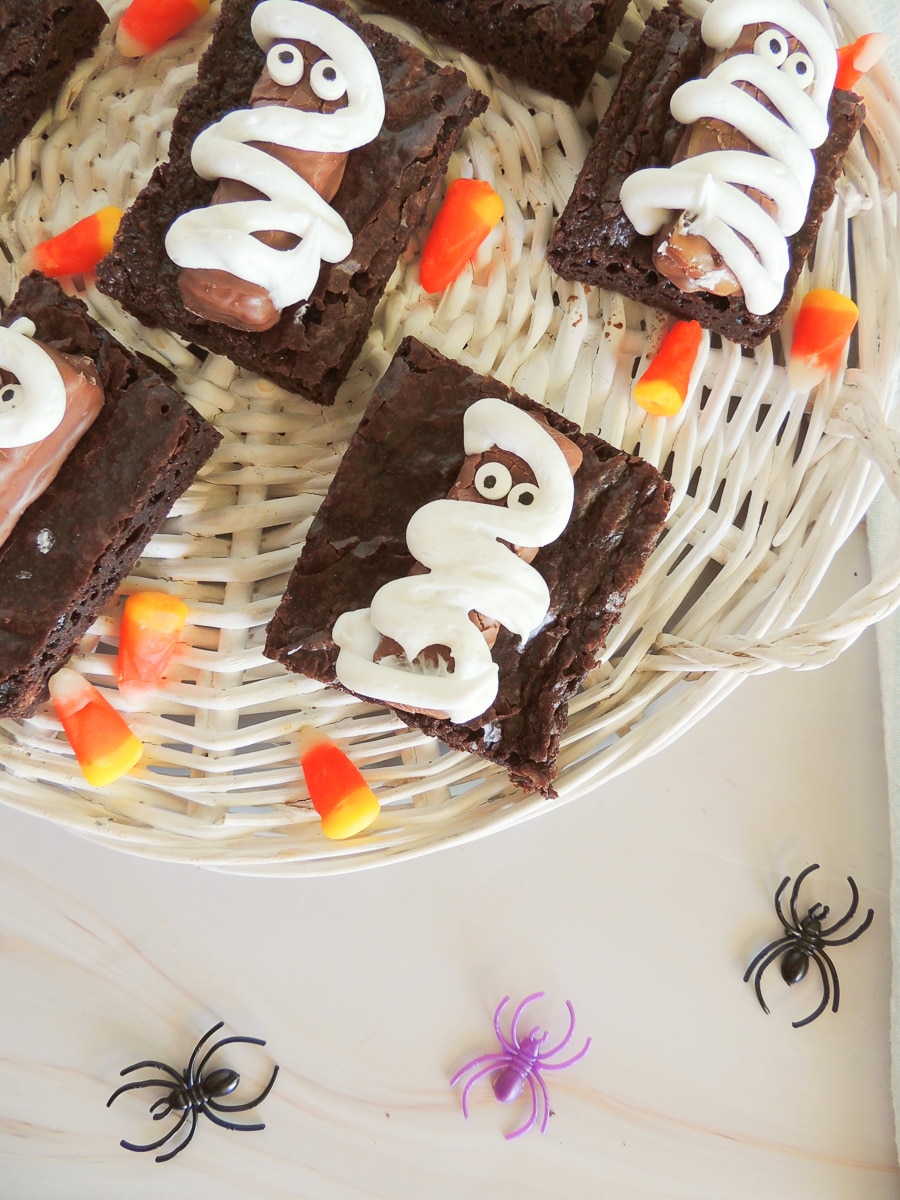
To make your mummies, start by cutting your brownies into rectangles. Squares will work too, but I think the rectangles look a little more mummy-like.
I used a basic brownie recipe here, but you can use any brownie recipe you prefer. Then just proceed with the decorations!

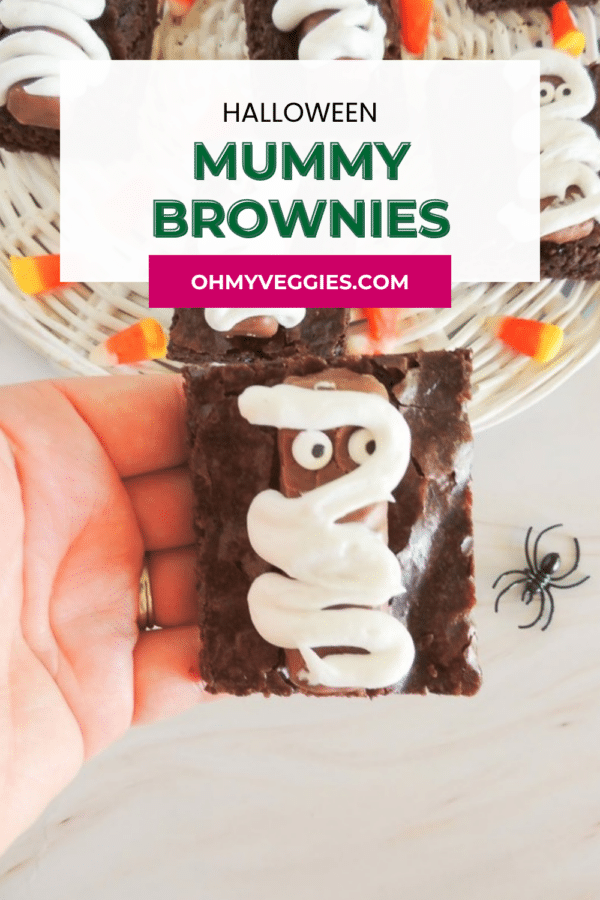
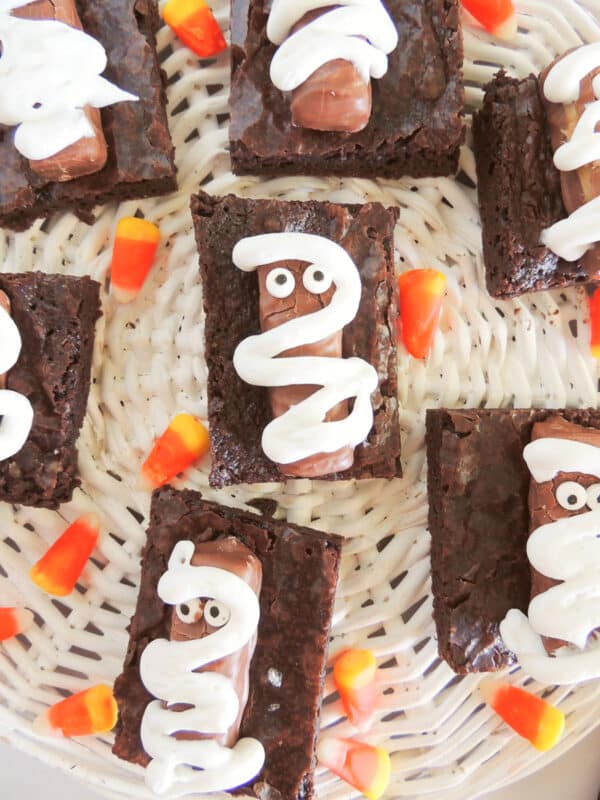
Then place a mini Twix bar atop each of your cut brownies. Grab some edible googly eyes and press them gently into the Twix bar to make your mummy's face.

And finally, swirl some white cookie icing across the top to create the mummy effect. I actually did this with a spoon, but you might find it easier to throw the icing into a piping bag and then draw on your swirls.
Helpful Tips
Line the pan with parchment. Leave a little overhang on the long sides so you can lift the whole slab out once it's cool. Cutting on a board gives you cleaner rectangles than cutting in the pan, and it keeps your baking dish free of knife scratches.
Don't overbake. Start checking at 25 minutes. You want a toothpick to come out with a few moist crumbs, not clean. The brownies keep setting as they cool, and an overbaked base turns dry and cakey instead of fudgy.
Cool completely before decorating. This is the most important step. If the brownies are even slightly warm, the Twix bars get soft and the icing melts into puddles instead of holding its bandage shape. Give them at least an hour, or pop the pan in the fridge for 20 minutes to speed things up.
Wipe the knife between cuts. A long, sharp knife wiped clean with a damp paper towel after every cut gives you neat edges that make the mummies look polished.
Add the eyes before the icing. Pressing the candy eyes on first means you can pipe the bandages around them without smudging. If your eyes won't stick, dab a tiny dot of icing on the back to act as glue.
How to Make Vegan Mummy Brownies
Good news: these are easy to make vegan with a few simple swaps. Replace the butter with 1 cup of melted vegan butter, and replace the 4 eggs with 4 flax eggs (4 tablespoons of ground flaxseed stirred into 10 tablespoons of water and left to thicken for 10 minutes). Use organic cane sugar and dairy-free chocolate chips, or leave the chips out.
The toppings need a little more thought. Twix bars contain milk, so swap them for a vegan chocolate-covered cookie or wafer bar, a strip of vegan shortbread, or skip the bar entirely and pipe the bandages straight onto the brownie. Many candy eyes contain confectioner's glaze or egg whites, so check the label, or make your own eyes with two dots of icing and a dairy-free chocolate chip in the center of each. Plenty of store-bought tube icings happen to be dairy-free, but you can also stir together 1 cup of powdered sugar with 1 to 2 tablespoons of plant milk for a quick vegan icing. Flax-egg brownies are a little more tender, so chill them for 30 minutes before slicing.
Variations
- Icing-only mummies. Skip the candy bar and pipe white icing bandages directly onto each brownie. It's cheaper, a little less sweet, and very kid-friendly.
- Different candy bars. Mini Kit Kats, fun-size Milky Ways or chocolate-covered wafer cookies all make good mummy bodies.
- Mummy blondies. Use your favorite blondie recipe for a golden base that makes the white bandages really stand out.
- Peanut butter swirl. Drop spoonfuls of warmed peanut butter over the batter and swirl with a knife before baking.
- Monster mix. Tint half the icing green or orange and make a batch of mummies alongside a few colorful little monsters.
- Tahini brownie base. For a grown-up twist, decorate a pan of Tahini Brownies instead.
Serving Ideas
Arrange the mummies on a platter or a woven tray and scatter a handful of candy corn and plastic spiders around them. It takes about 30 seconds and instantly makes the whole table look festive. They're a natural fit for classroom parties, bake sales and trick-or-treat night, since they're easy to grab and don't need a fork.
For a full Halloween spread, set them out next to Spooky Vegan Halloween Cookies and a big bowl of Fall Snack Mix. A glass of cold milk (dairy or plant-based) or a mug of Mulled Sparkling Apple Cider is the perfect partner.
Storing & Freezing
Store decorated brownies in a single layer in an airtight container at room temperature for up to 3 days. Let the icing firm up completely before you cover them, and avoid stacking them, because the icing and candy eyes smudge easily. In a warm kitchen, keep them in the fridge instead, where they'll last up to 5 days.
For freezing, it's best to freeze the plain, undecorated brownies. Wrap the cooled, cut brownies tightly and freeze for up to 3 months. Thaw them at room temperature for about an hour, then add the Twix bars, eyes and icing. Decorated brownies can be frozen too, but the icing may crack and the candy eyes can bleed a little as they thaw.

More Halloween Treats
If you love these Halloween brownies, be sure to check these other festive ideas:
- Halloween Mummy Cake Pops
- Mummy Cupcakes for Halloween
- Halloween Black Forest Cake
- Spooky & Sweet Halloween Desserts
📖 Recipe

Equipment
Ingredients
For Brownies:
- 1 cup unsalted butter, melted, 2 sticks
- 2 cups granulated sugar
- 4 large eggs
- 2 teaspoons vanilla extract
- 1 cup all-purpose flour
- ½ cup unsweetened cocoa powder
- ¼ teaspoon baking powder
- ¼ teaspoon salt
- 1 cup chocolate chips, optional, but a delightful addition!
For Decorating:
- 12 Mini Twix Bars
- 1 White Cookie Icing, 7 oz tube; you'll use about half
- 24 candy eyes, 2 per brownie
Instructions
For Brownies:
- Preheat the oven to 350°F (175°C). Grease a 9x13-inch baking pan or line it with parchment paper, leaving a little overhang on the long sides for easy brownie removal.
- In a large bowl, whisk together the melted butter and sugar until smooth. Beat in the eggs one at a time, mixing well after each addition. Stir in the vanilla extract.

- In a separate medium bowl, sift together the flour, cocoa powder, baking powder and salt. This ensures a lump-free batter and an even texture.
- Gradually add the dry ingredients to the wet mixture, stirring just until combined. If you're adding chocolate chips, fold them in now.
- Pour the batter into the prepared pan and spread it into an even layer. Bake for 25-30 minutes, until a toothpick inserted into the center comes out with just a few moist crumbs.
- Let the brownies cool completely in the pan on a wire rack, about 1 hour (or chill for 20 minutes to speed things up). Once cool, slice into 12 rectangles.


For the Mummy Decorations:
- Top each brownie with a mini Twix bar.
- Gently press two candy eyes into each mini Twix bar, toward the top of the bar.
- Using the cookie icing, pipe a zigzag back and forth over each Twix bar to create the mummy's bandages, leaving the eyes peeking through. If your hand isn't very steady, it may be easier to transfer the icing to a piping bag for this step.
- Set the brownies aside and let the icing firm up for about 15 minutes before serving your Halloween brownies!


Something to say? Leave a comment.