
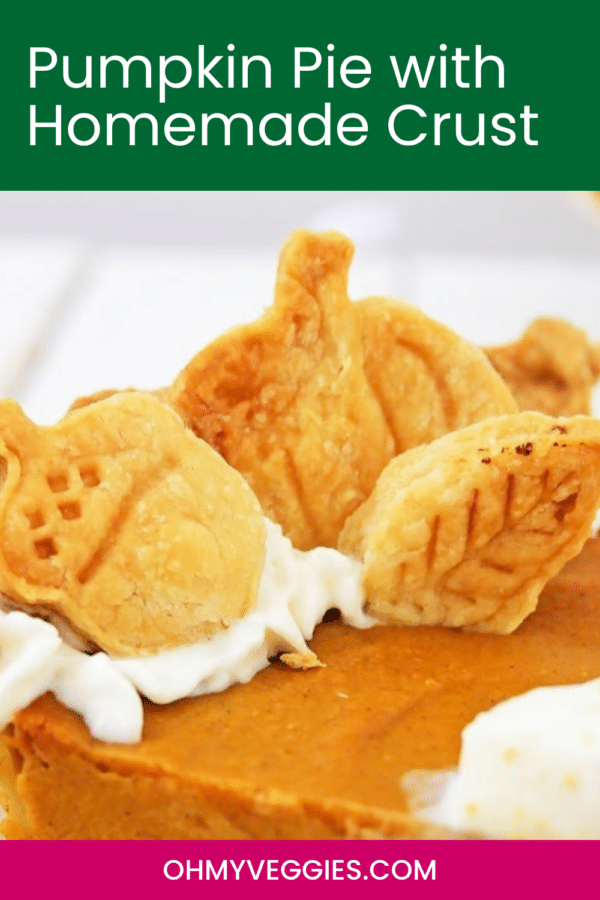
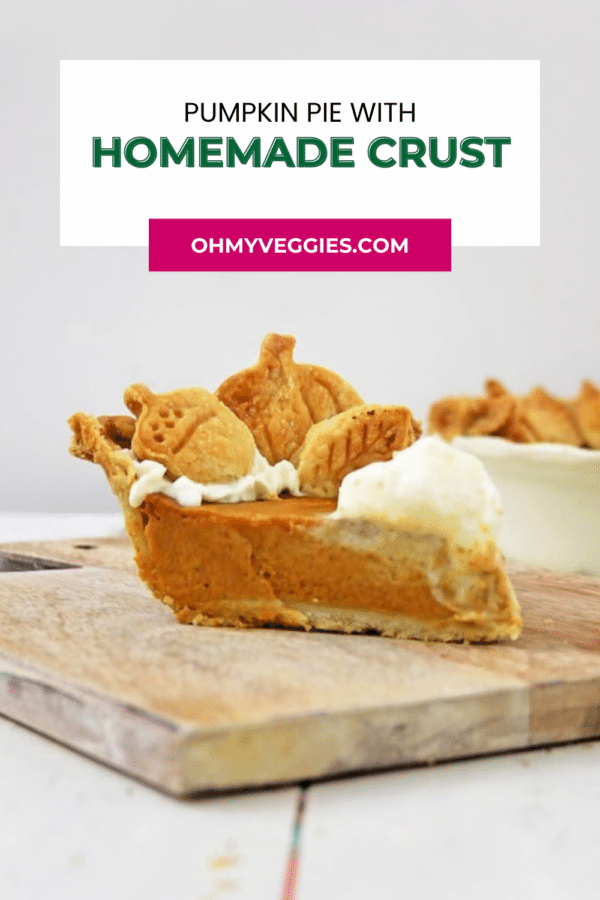
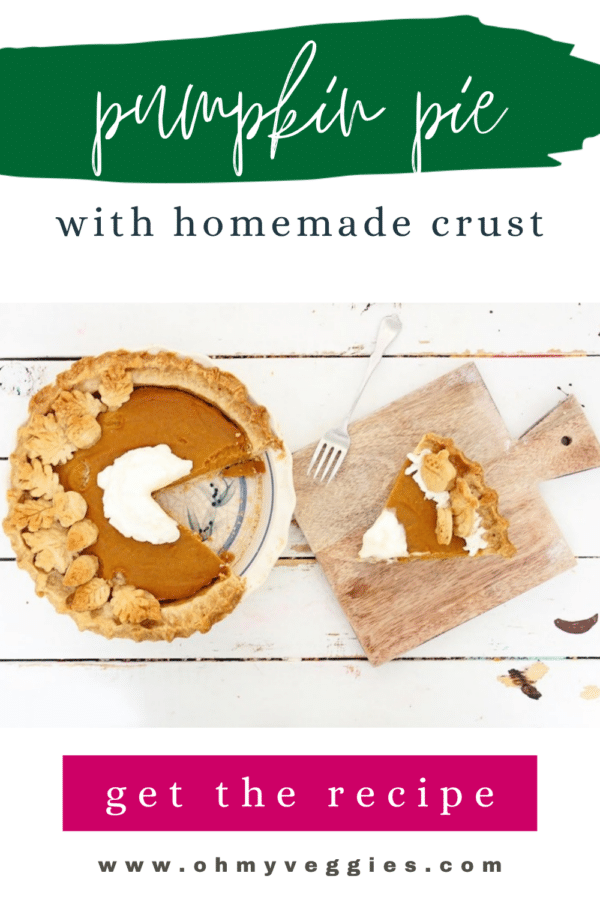
This pumpkin pie with homemade crust is the star of our Thanksgiving dessert table every single year: a creamy, lightly spiced pumpkin custard baked in a flaky, from-scratch pie crust that's much easier to make than you think. Below you'll find a full step-by-step photo guide to the crust, plus answers to all the pie crust questions we get asked every November.

Jump to:
Key Ingredients & Substitutions
- All-purpose flour. Plain all-purpose flour gives the crust structure without making it tough. Spoon it into the measuring cup and level it off rather than scooping, or the dough can turn out dry and crumbly.
- Vegetable shortening. This crust uses Crisco all-vegetable shortening, which is what makes it so tender, flaky and forgiving to roll out. You can swap half of the shortening for cold unsalted butter for more buttery flavor (see the FAQs below).
- Egg and white vinegar. The egg makes the dough easier to handle and helps it brown, while a teaspoon of plain white vinegar keeps the crust tender. Apple cider vinegar works too.
- Ice-cold water. Topping up the egg and vinegar with very cold water keeps the shortening in solid little pieces, and those pieces are what create flaky layers in the oven.
- Pumpkin puree. Use plain canned pumpkin (the only ingredient on the label should be pumpkin), not pumpkin pie filling. Want to go from scratch? Here's how to make pumpkin puree; just cook it down a little so it's as thick as canned.
- Sugar and cinnamon. Granulated sugar sweetens the custard and cinnamon gives it that classic flavor. Brown sugar adds a caramel note, and 2 teaspoons of pumpkin pie spice can stand in for the cinnamon.
- Eggs and half and half. These turn the pumpkin into a silky custard that sets as it bakes. Evaporated milk or whole milk plus a splash of cream both work in place of half and half.
How to Make Homemade Pie Crust for Pumpkin Pie (Step by Step)
Let's start with the crust! Of course you can use a store-bought pie crust if you prefer. But c'mon, it's the holidays, so it's better to make this with my homemade pie crust. It's much easier than you think, I promise! This recipe makes enough dough for four 9-inch single crusts (or two double crusts), so you'll have extra for decorations or a second pie.
Step 1: Gather Your Crust Ingredients
You'll need flour, salt, a little sugar, shortening, an egg, white vinegar and cold water, plus a large mixing bowl and a pastry cutter (two forks work in a pinch).

Step 2: Cut the Shortening into the Flour
Just mix the flour, salt, sugar and Crisco in a large bowl. Using a pastry cutter, cut the Crisco into the flour mixture (or use two forks) until it resembles pea-size pieces.
Don't worry when you're cutting the Crisco into the dry ingredients, you're really only breaking it into small pieces. It's a technique to quickly combine the ingredients so that the shortening or fat does not melt. This is what gives you a beautiful flaky crust.

Step 3: Add the Egg, Vinegar and Water
Next, in a 1-cup measuring cup, beat the egg until lightly colored and frothy. Add the white vinegar and stir. Add ice-cold water until you fill the measuring cup, stir well and pour it into the flour and Crisco mixture.
Mix the dough just until it comes together and forms a ball when you squeeze it in your hand. Use a large spoon to mix, and try not to use your hands too much when making the dough: your hands are warm and will quickly melt the shortening. Add a little more flour if the dough is too sticky.

Step 4: Divide, Wrap and Chill the Dough
Divide the dough into four equal portions (one per single-crust pie) and flatten each into a disc. Wrap the discs in plastic wrap and refrigerate for at least one hour to let the dough rest. Chilling relaxes the gluten so the crust doesn't shrink, and firms up the shortening so it rolls out cleanly.
Step 5: Roll Out the Crust
When you're ready to roll, take one disc out of the refrigerator. Lightly flour a large piece of parchment paper and your rolling pin. Place the dough on the parchment and gently roll it from the center out, applying even pressure and turning the dough a quarter turn after a few rolls. Sprinkle on a little more flour if the dough starts to stick.

You'll want to roll until the dough is about three or four inches bigger than your pie pan, which leaves you enough dough to crimp the edges. An easy way to move it: loosely roll the crust around your rolling pin, then unroll it over the pan.

Step 6: Transfer, Trim and Crimp
Ease the crust into a 9-inch glass pie plate without stretching it, pressing it gently into the corners and patching any tears with a scrap of dough. Trim the overhang to about an inch, fold it under so it sits on the rim, and crimp. For a classic fluted edge, push the dough outward with the index finger of one hand while pinching it around that finger with the thumb and index finger of the other hand. For a quicker edge, just press all the way around with the tines of a fork. Pop the crust in the fridge while you make the filling.

That's it! There's no need to blind bake this crust before adding the filling: the pie starts in a hot 425°F oven, which sets the bottom crust quickly. If you like an extra-crisp bottom, see the blind-baking FAQ below.
Making the Pumpkin Pie Filling
As for the pumpkin pie filling, it's as easy as combining the wet and dry ingredients in one bowl, then mixing it all together. For the custard, I always use plain pureed pumpkin as my base, so I can control the flavor and how sweet I want the filling to be rather than relying on a pre-seasoned pie filling.
I add a good dose of cinnamon as my spice of choice to give the pie that traditional pumpkin pie flavor. Feel free to use the spices you love, like nutmeg, ginger and cloves. For a little extra caramel-y flavor, you can use brown sugar in place of some of the granulated sugar. The eggs and half and half are what thicken the filling as it bakes.

Bake the pie at 425°F for about 20 minutes, then lower the oven temperature to 350°F and bake for another 45 minutes. Reducing the oven temperature keeps the custard from over-baking and helps prevent cracks in your pumpkin pie.
It's best to remove the pie while the center is still a little wobbly. The heat will continue to cook the pie when it's out of the oven, and the center will finish cooking and firm up as it sets and cools down.
Decorating the Pie Crust
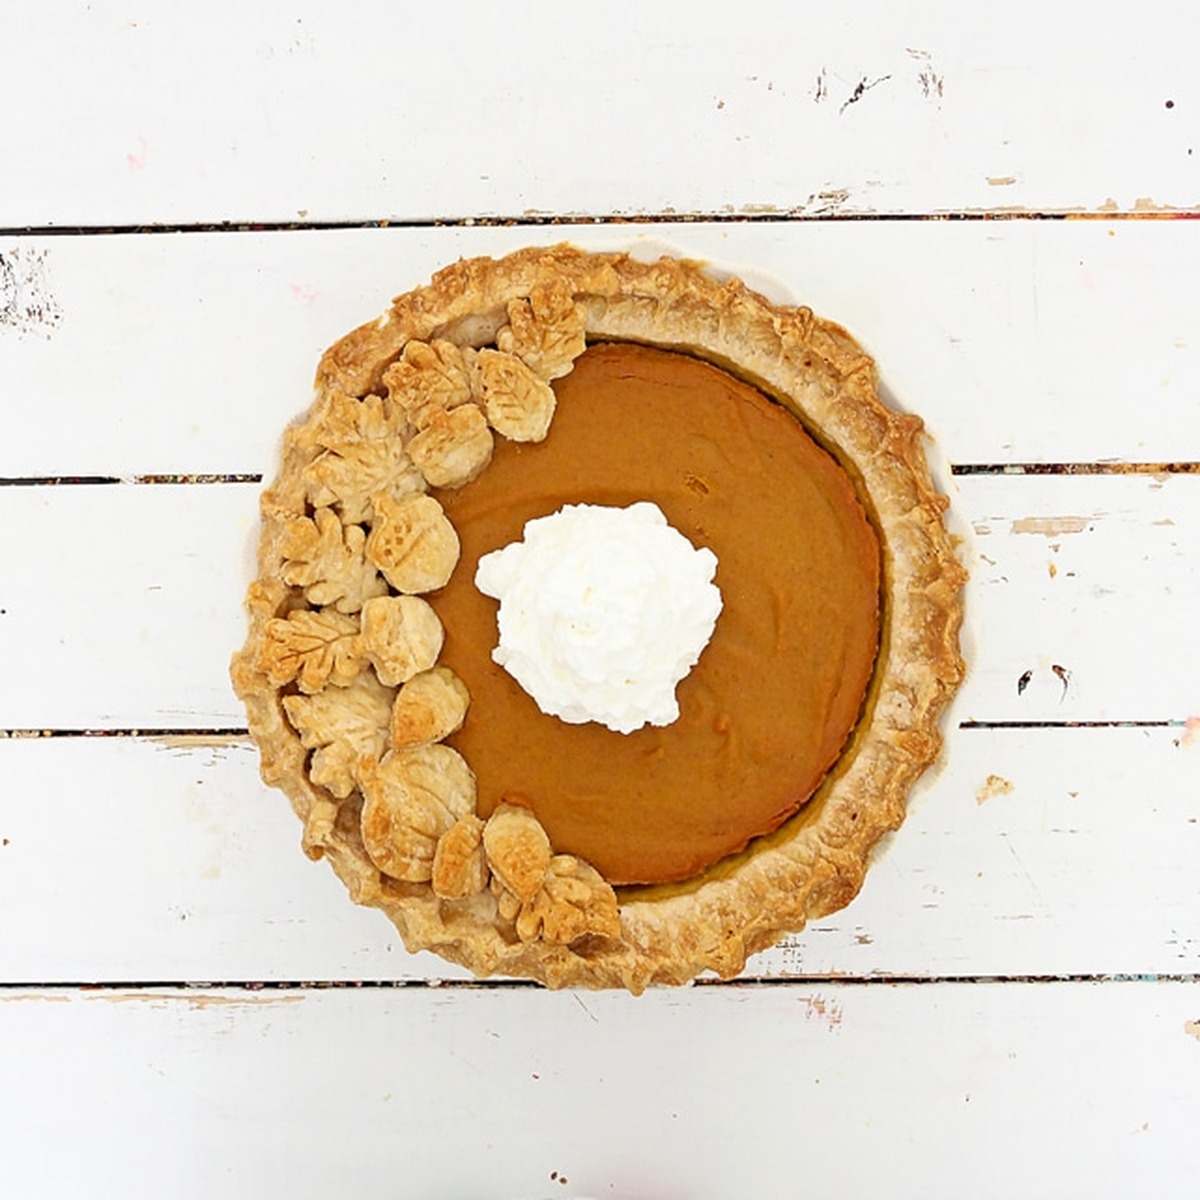
You can simply top the pie with heaping piles of whipped cream and serve, but if you have extra dough left over, you can use it to make little crust cookies to add something special. Just grab some fall pie crust cutters and cut out as many leaves, acorns and pumpkin shapes as you need.

You'll want to bake these crust cookies separately, since they cook much quicker than the pie. Pop them into a 350°F oven for about 10 to 12 minutes, or until golden. Brush them with melted butter, sprinkle them with colored or cinnamon sugar, or dip them in white chocolate tinted with food coloring gels for a burst of fall color.
Tip: these are a great way to hide a crack or two in your pumpkin pie filling, and a nice way to make your pie look extra special!
Helpful Tips
Keep everything cold. Cold shortening and ice water are the secret to a flaky crust. If your kitchen is warm or the dough gets soft and greasy while you work, slide it back into the fridge for 15 minutes before you keep going.
Don't overwork the dough. Stir just until the dough holds together when squeezed. A few dry bits are fine; they'll hydrate as the dough rests. Kneading or over-mixing develops gluten and gives you a tough, shrinking crust.
Protect the edges. The crimped rim bakes much faster than the center of the pie. If it's getting dark before the filling is set, cover it with a ring of aluminum foil or a pie crust shield for the rest of the bake.
Bake on the lower rack. Setting the pie on the lower-middle rack puts the bottom crust closer to the heat, so it bakes through instead of turning soggy under the wet filling. Placing the pie plate on a preheated baking sheet helps even more.
Let it cool completely. Pumpkin pie needs at least two hours on a wire rack to finish setting. Slicing it warm gives you a runny center, while a fully cooled pie cuts into clean wedges.
Variations
- Butter crust. Replace half (or all) of the shortening with very cold cubed butter for a richer, more golden crust. An all-butter crust is a little less forgiving, so chill it well before rolling.
- Gingersnap crust. Skip the rolling pin entirely and press a cookie crumb crust into the pan, like in this pumpkin pie with gingersnap crust.
- Double-crust or lattice top. Use a second disc of dough to add a lattice or cut-out top. Lay it on for the last 30 minutes of baking so the filling can set first and the top stays crisp.
- Extra-spiced filling. Add ½ teaspoon ground ginger, ¼ teaspoon nutmeg and a pinch of cloves along with the cinnamon for a warmer, more traditional spice blend.
- Vegan pumpkin pie. Pair an easy vegan pie crust with a dairy-free, egg-free filling, or follow our vegan pumpkin pie recipe from start to finish.
Serving Ideas
A big spoonful of lightly sweetened whipped cream is the classic topping, and it's even better with a pinch of cinnamon whipped in, like the cinnamon whipped cream we serve with our chai poached pears. Vanilla ice cream, a drizzle of maple syrup or a sprinkle of chopped candied pecans are all lovely too.
For Thanksgiving, set the pie out on a dessert table alongside a fruit crumble and a plate of the extra pastry leaf cookies, with plenty of hot coffee or spiced cider. Pumpkin pie is served chilled or at room temperature, so it's one less thing competing for oven space on the big day.
Storing & Make-Ahead
Because it's an egg-and-dairy custard, pumpkin pie should be refrigerated once it has cooled. Cover it loosely with waxed paper and then aluminum foil (or plastic wrap) and keep it in the fridge for up to 4 days. Add whipped cream just before serving so it doesn't weep onto the filling.
To get ahead, make the crust dough up to 3 days early and keep the wrapped discs in the fridge, or freeze them for up to 3 months and thaw overnight in the refrigerator before rolling. The baked pie can be made 1 to 2 days before serving. You can also freeze the baked, fully cooled pie: wrap it tightly in plastic wrap and foil, freeze for up to 1 month, and thaw it in the refrigerator overnight. The crust softens slightly after freezing, so a quick 10-minute warm-up in a 350°F oven helps crisp it back up.
FAQs
Do you blind bake the crust for pumpkin pie?
You don't have to for this recipe. The pie starts at 425°F, which sets the bottom crust before the custard has a chance to soak in, so the crust bakes through along with the filling. If you want an extra-crisp bottom, partially blind bake it: chill the crust in the pan for 30 minutes, line it with parchment, fill it with pie weights or dried beans, and bake at 400°F for 15 minutes. Remove the weights, bake 5 minutes more, then add the filling and bake as directed, covering the edges with foil if they brown too quickly.
What kind of crust is best for pumpkin pie?
A flaky single pastry crust is the classic choice, because its crisp, neutral layers balance the soft, rich custard. Shortening crusts like this one are the most tender and easiest to work with, butter crusts have the most flavor, and cookie crumb crusts (like gingersnap or graham cracker) are a no-roll option.
Can I use butter instead of Crisco?
Yes. Swap in the same amount of very cold unsalted butter, cut into small cubes, or use half butter and half shortening for the best of both. Butter melts faster than shortening, so keep the dough cold and chill it a little longer before rolling.
Can you make pumpkin pie with a top crust?
You can! Since this recipe makes enough dough for a double crust, roll out a second disc and cut it into lattice strips or shapes. Add the top crust for the last 30 minutes of baking, once the filling has started to set, so it doesn't sink into the custard. Our baked pastry leaves are an easy alternative that gives the same pretty, crust-on-top look.
How do you know when pumpkin pie is done?
The edges of the filling should be set and slightly puffed, and the center (about the size of a golf ball) should still jiggle a little when you gently nudge the pan. A knife inserted halfway between the center and the edge should come out clean. The center will finish setting as the pie cools.
What is the difference between canned pumpkin puree and pumpkin pie filling?
Canned pumpkin is nothing more than plain cooked, pureed pumpkin; the only ingredient on the label should be pumpkin. Pumpkin pie filling, on the other hand, has spices like cinnamon, clove, allspice and ginger, and usually sugar, already added. This recipe calls for plain pumpkin puree.
Why is my pumpkin pie mushy?
It can happen to us all! You followed the recipe to the letter, but when you checked the pie, the inside wasn't set at all. There are a few reasons your pumpkin pie might be mushy or watery:
- You used the wrong pumpkin: fresh pumpkin puree has a lot more moisture than canned.
- The filling needed more eggs.
- You docked (poked holes in) the unbaked crust, and the liquid filling seeped underneath it.
- The pie was underbaked, or overbaked until the custard broke and wept.
To firm up an already baked pumpkin pie, leave it to set in the fridge for about 12 hours. The custard will firm up as it gets cold. For a pie you haven't baked yet, adding one extra egg is a good idea: pumpkin pie filling is a custard, and eggs are essential to help it hold its shape. Don't dock an unbaked crust, and remove the pie from the oven while there's still a little jiggle in the center.

More Pumpkin Desserts
If you love this pumpkin pie recipe, be sure to check out these other tasty treats:
- 22 Best Pumpkin Desserts
- Easy Vegan Pumpkin Bars
- One-Bowl Pumpkin Cake
- Homemade Coconut Oil Pie Crust
If you're here planning your holiday menu, don't miss our new Vegan Christmas and Vegan Thanksgiving cookbooks. They're packed with all my favorite holiday-worthy recipes for a plant-based feast.
📖 Recipe
Equipment
- Waxed paper
- Colored sugars - Optional
Ingredients
FOR THE PIE FILLING:
- 15 oz pumpkin puree, 1 can; plain pumpkin, not pumpkin pie filling
- 1 cup sugar
- 2 teaspoon cinnamon
- ¼ teaspoon salt
- 2 large eggs
- 1 ½ cups half n half
FOR THE CRUST:
- 5 cups all purpose flour
- 1 teaspoon salt
- 2 cups Crisco, all-vegetable shortening, cold
- 1 large egg
- 1 teaspoon white vinegar
- 1 heaping teaspoon sugar
- about ¾ cup bottled water, ice-cold, enough to fill the 1-cup measure with the egg and vinegar
For serving (optional):
- whipped cream
Instructions
Making the Crust:
- In a large bowl, mix the flour, salt and sugar. Add the Crisco and cut it into the flour mixture with a pastry cutter (or two forks) until it resembles pea-size pieces.
- Add the egg to a 1-cup measuring cup and beat it with a fork until it's light colored and frothy. Add the white vinegar and stir. Fill the measuring cup to the 1-cup line with ice-cold water, stir, and pour into the flour mixture.
- Stir with a large spoon just until the dough comes together and holds when squeezed. If it's too sticky, sprinkle in a little more flour. Try not to handle it much with your hands, which can melt the shortening.
- Divide the dough into 4 equal portions and flatten each into a disc. Wrap in plastic wrap and refrigerate for at least 1 hour. (You'll need one disc for this pie; freeze the extras or use them for the decorative leaves below.)
- Place one disc on a large piece of lightly floured parchment paper and roll it with a floured rolling pin from the center out, turning it a quarter turn every few rolls, until it's 3 to 4 inches wider than your 9-inch pie plate.
- Transfer the crust to the pie plate and gently press it in without stretching. Patch any tears, trim the overhang to about 1 inch, fold it under and crimp the edges. Refrigerate the crust while you make the filling. (No need to blind bake or dock it.)
For the Filling:
- Preheat the oven to 425°F with a rack in the lower-middle position.
- In the bowl of a stand mixer (or a large bowl with a whisk), mix the pumpkin, sugar, cinnamon and salt until blended. Add the eggs and blend well. Add the half and half and mix until the filling is smooth.
- Pour the filling into the prepared crust.
Bake the Pie:
- Bake at 425°F for 20 minutes, then reduce the oven temperature to 350°F and bake for another 45 minutes, until the edges are set and the center still jiggles slightly (a knife inserted halfway between the center and edge should come out clean). If the crust edges brown too quickly, cover them with foil.
- Transfer the pie to a wire rack and let it cool completely, at least 2 hours, before slicing. Serve topped with whipped cream. If you're making the pie ahead, cover it with waxed paper and then aluminum foil and refrigerate until serving.
For the Decorative Leaves (optional):
- Roll out extra crust on parchment paper to about ⅛ inch thick. Press the pie crust cutters into the dough and push the leaves or acorns out onto a parchment-lined baking sheet. Sprinkle with colored sugar or cinnamon sugar if you like.
- Bake at 350°F for 10 to 12 minutes, or until golden. They brown quickly, so keep an eye on them. If you didn't use sugar, brush them with melted butter when they come out of the oven. Arrange them on the cooled pie, or serve extras on a tray alongside it.
Notes
- The crust recipe makes enough dough for four 9-inch single crusts (or two double crusts). Use one disc for this pie; the extra dough can be used for pastry-leaf decorations or frozen for up to 3 months.
- The filling recipe makes one 9-inch pie. Double it for 2 pies, triple it for 3.
- No need to blind bake the crust for this recipe. For an extra-crisp bottom, partially blind bake the chilled crust with pie weights at 400°F for 15 minutes, remove the weights, bake 5 minutes more, then fill and bake as directed.
- If the crust edges brown too quickly, cover them with a ring of foil or a pie crust shield.
- Nutrition is an estimate per slice and includes one of the four crusts.

Something to say? Leave a comment.