Did you know traditional kimchi isn't vegetarian? It's usually made with fish or shrimp paste, but this 100% vegan kimchi is made without either. And it couldn't be easier!
Jump to:
The first time I ate kimchi, I totally fell in love. Unfortunately, after a few more kimchi dining experiences I learned that I was in love with something very un-vegetarian.
Most kimchi that you'll find at restaurants is made with some type of animal product, usually fish sauce or shrimp paste. Who knew? Isn't that the story of every vegetarian's life? That oopsie moment just happens to be after discovering your new favorite food.
It was a huge bummer, but I was able, on occasion only, to locate veggie friendly kimchi at the supermarket, which only fed my addiction, in turn making things worse.
I had to learn to make my own kimchi. Fortunately DIY vegan kimchi need not be that difficult. Yes, traditional homemade kimchi can be a bit involved, with steps like burying the kimchi pot in the back yard while your kimchi ferments, but then again, traditional kimchi also involves fish sauce. So we're just going to go for flavor and let a few things slide.
Equipment You'll Need
You're going to need a large pot or mixing bowl, cutting board, knife, and a few mason jars totaling about a quart in volume.
Make sure everything is very clean. I guess this is obvious, but it's especially important here, because you don't want to introduce any undesirable bacteria that could interfere with the fermentation process. And as with all fermented foods - proceed at your own risk!
Choose Your Ingredients
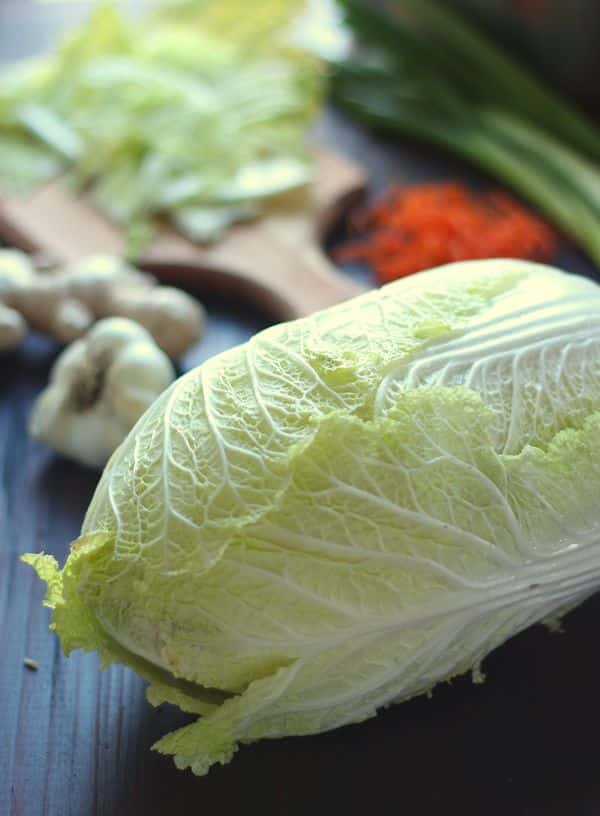
You've got some flexibility as far as kimchi ingredients are concerned, but one thing that's essential is a head of napa cabbage, so start with that. One medium sized head of napa cabbage will give you about a quart of kimchi, which is a good size for your first batch.
In addition to your napa cabbage, you'll need a half cup (yes, this is a lot) of non-iodized salt, a tablespoon of sugar, one to two tablespoons of grated ginger, about four to six garlic cloves, all minced, and four to six scallions, cut into one inch pieces.
The other essential ingredient is hot chili powder. For an authentic kimchi you'll want to use gochugaru, or Korean red pepper flakes, which you should be able to find at an Asian market.
I have substituted cayenne and even Indian chili powder in a pinch, and though this might be considered a cheater's kimchi, it was just as delicious as anything I've ever gotten at a restaurant.
Be mindful of the amount you use, as different varieties of chili powder have different heat levels. Whatever variety you go with, have a good amount on hand, as you'll be using between 1 tablespoon and ⅓ cup per batch, depending on how spicy you'd like your kimchi to be.
A traditional batch of kimchi would also include about ½ of a large daikon radish, but to be totally honest I've never let not having one of these on hand stop me from whipping up a batch of kimchi. You can also substitute a few regular old radishes if you'd like
I'd stop here if this is your first batch of kimchi, but once you've got a feel for the process and an idea of what different blends taste like, feel free to improvise. I sometimes like to add a half of an onion, sliced into thin strips, or a half cup or so of julienned or shredded carrots. When I made the batch shown in the photos for this post I included a Granny Smith apple for the first time ever, and was pleased with the result.
Step 1: Prepare and Salt the Cabbage
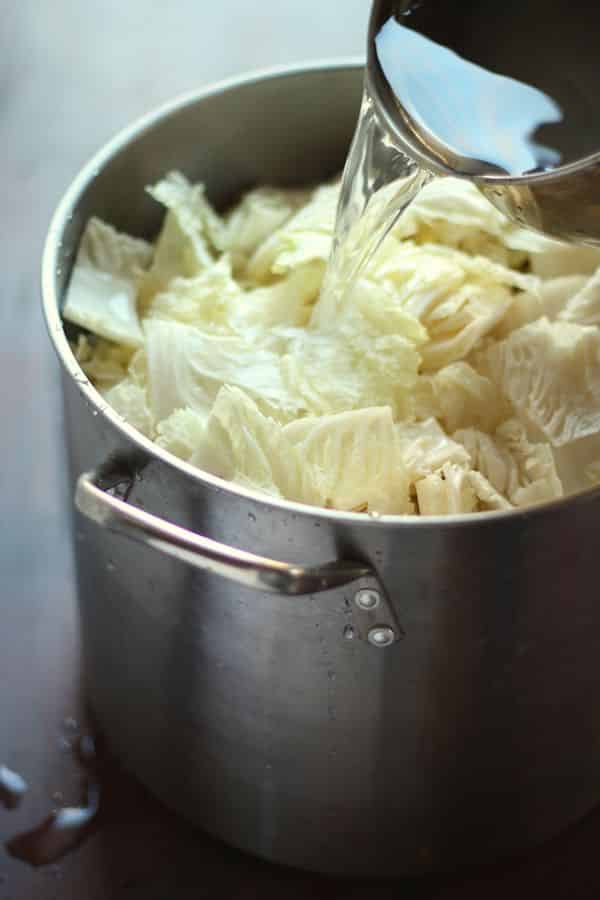
Start by cutting the napa cabbage leaves into 1 to 2 inch pieces. You can do this by tearing them up by hand or chopping the cabbage with a large knife. Remove the core and any very thick pieces towards the base. Place your cabbage pieces into a large pot or bowl.
Here's were that half cup of salt comes in; you're going to dissolve it in about a gallon of water. You can heat the water if necessary to do this, but make sure you let it cool back down before going any further, otherwise you'll start to cook your cabbage and kill off the bacteria that's needed for the kimchi to ferment.
Once your water is at room temperature, add it to the bowl or pot with your cabbage. The cabbage should be submerged; if it's not, add a bit more water. If you have a large plate that fits into the pot or bowl, place it in there and push down to help keep your cabbage submerged.
Let the cabbage sit like this for at least two hours, but no more than twenty-four. This process will wilt the cabbage and start the fermentation process. After the time is up, drain everything into a colander and rinse the cabbage well to remove the salt.
Step 2: Mix Your Ingredients
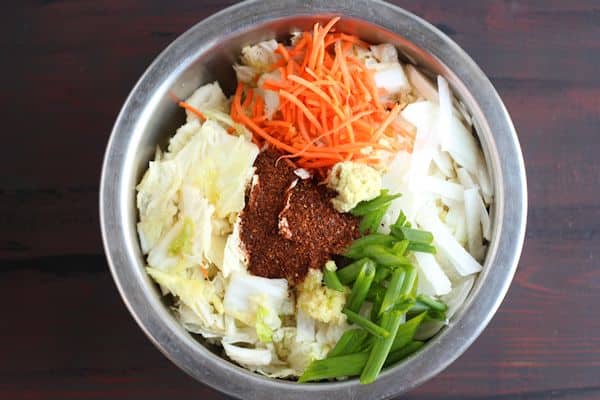
Transfer your cabbage to a large mixing bowl, along with whichever other ingredients you've chosen for your kimchi. Mix everything well with a large spoon.
You can even dig in with your hands, but definitely sport a pair of gloves if you do, so as to avoid burning your skin. Add up to a quarter cup of water to help the mixing process along.
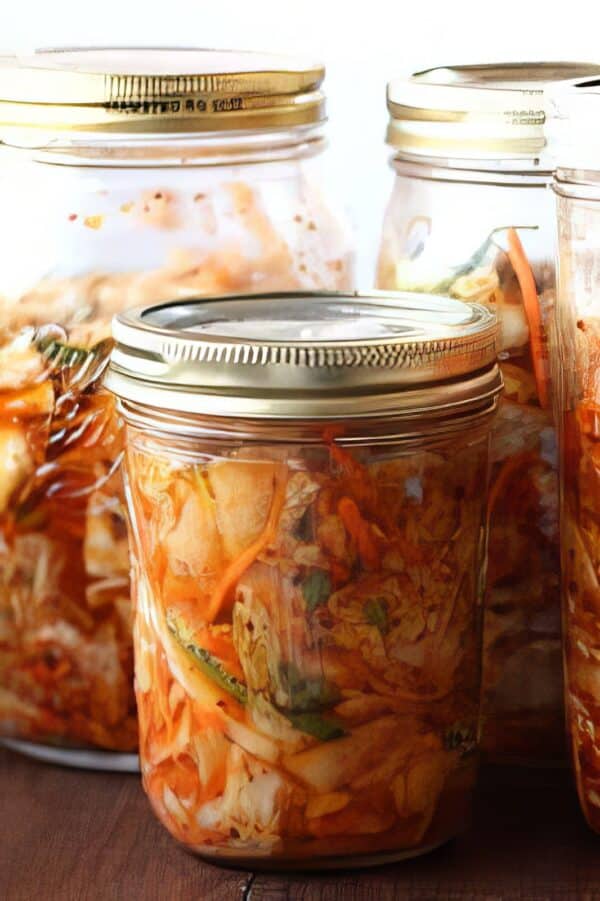
Step 3: Jar Your Kimchi
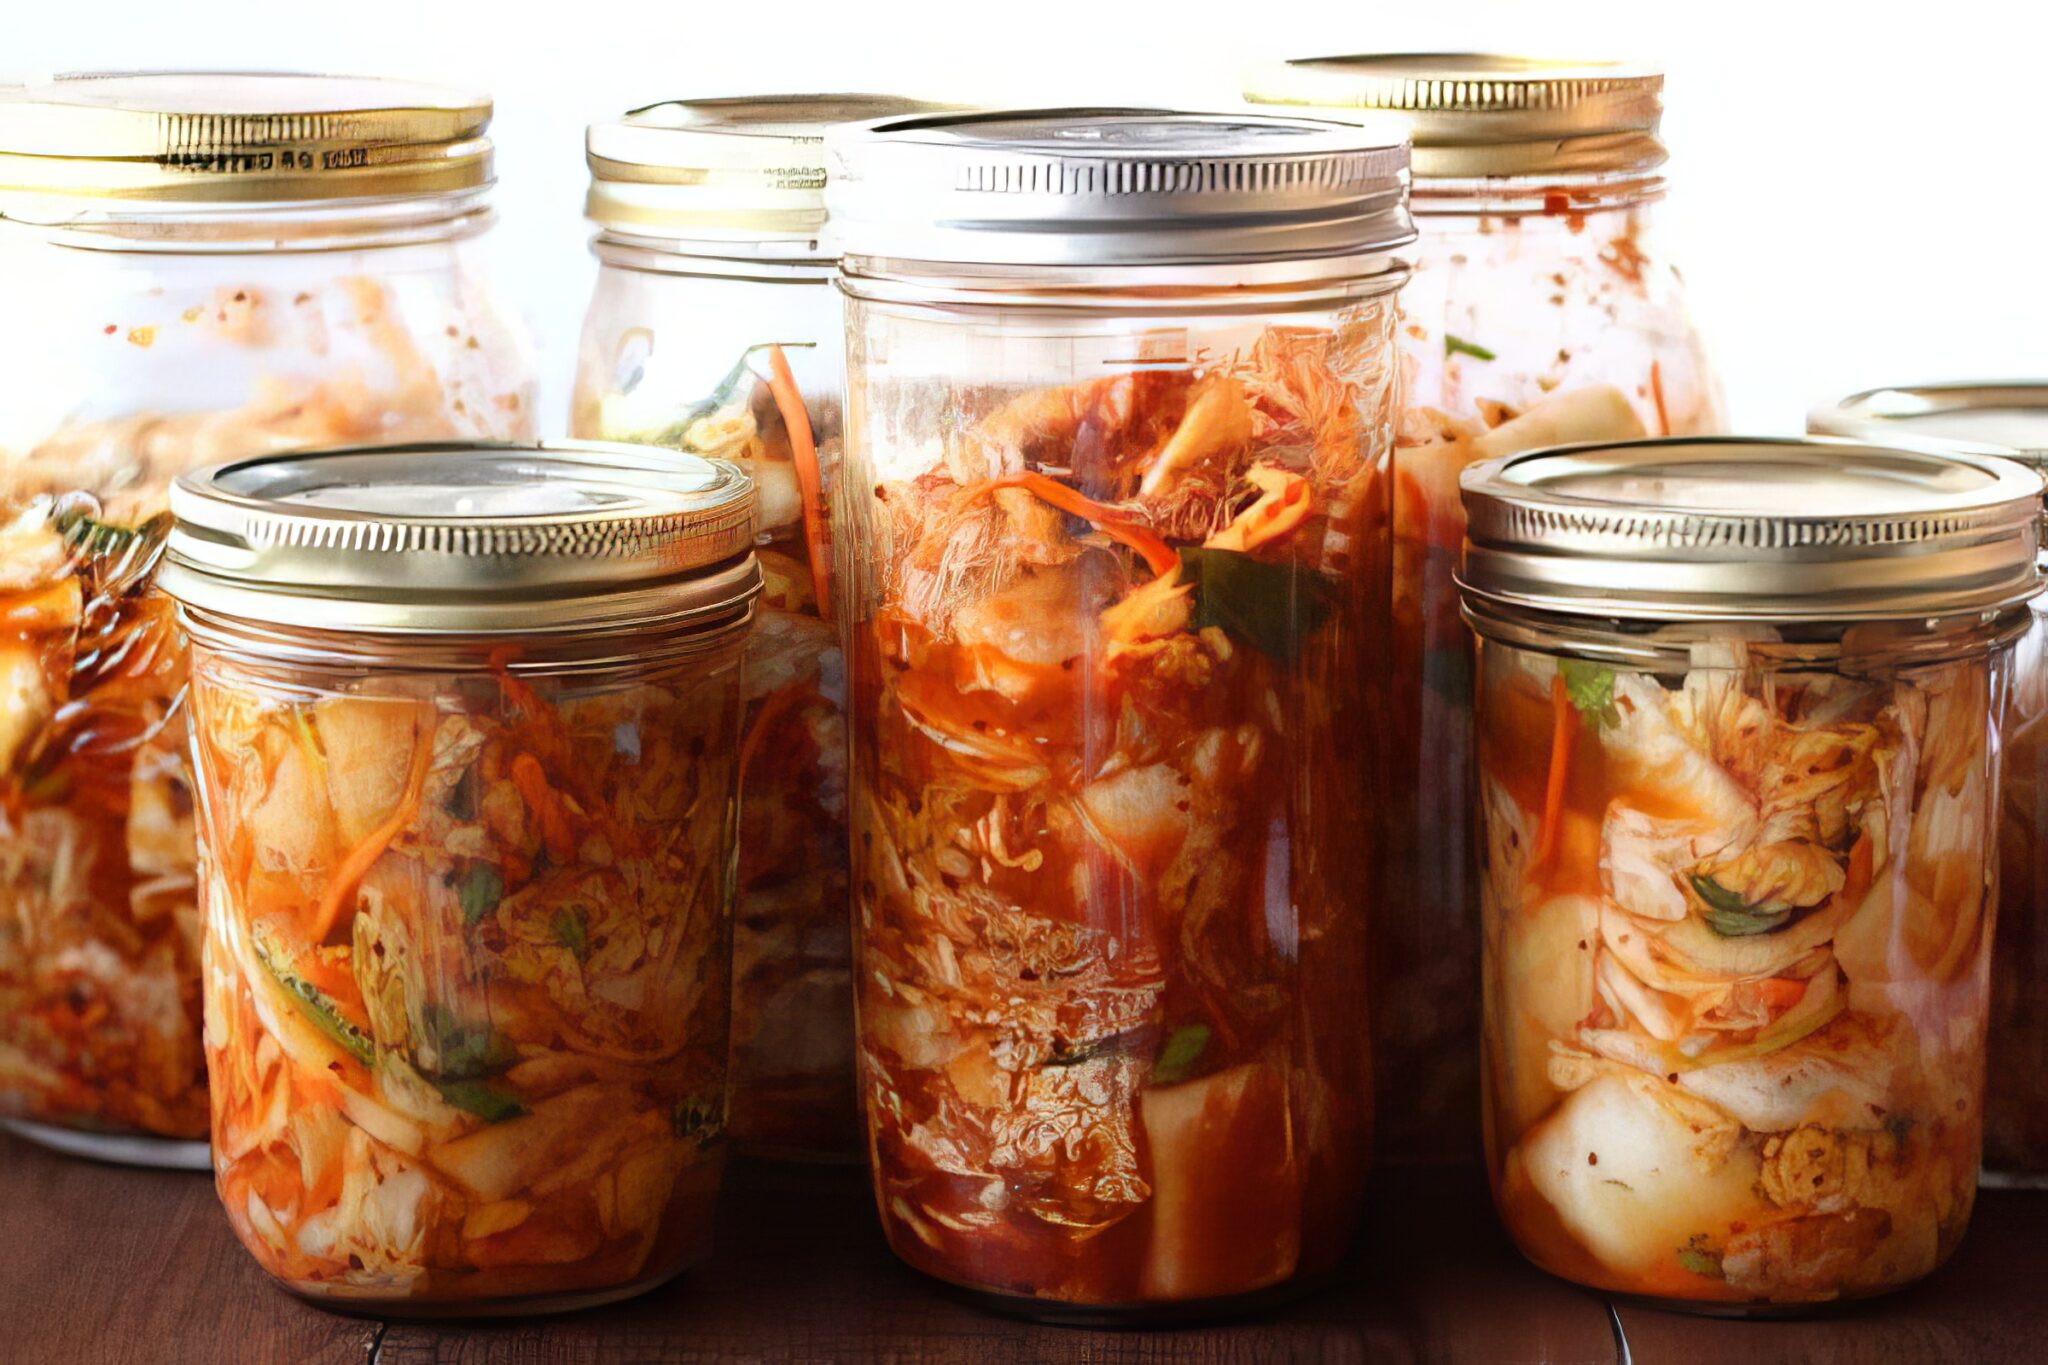
Divide the mixture into mason jars, leaving at least an inch of headspace between the kimchi mixture and the top of your jar. Be sure to include any liquid left at the bottom of your mixing bowl in your jars. Pack the kimchi mixture down lightly with the back of a spoon.
Close up your jars, but not too tight. The kimchi will release gas as it ferments, so you'll want a bit of air to be able to escape. (I've taken a few unnecessary kimchi showers by not following my own advice.)
Step 4: Allow Your Kimchi to Ferment
Let your jars sit at room temperature for anywhere between two and five days. After about 24 hours you should start to see signs of fermentation like bubbling and the mixture rising up a bit in the jars as gas develops at the bottom. Open the jars about once a day to let some pressure out and press the mixture down to keep as much of it as possible submerged in liquid.
Start taste-testing on about the second day, and when you're happy with the level of sourness, move the jars to the refrigerator. You can use your kimchi right away if you'd like, but it tends to taste best after another week or two in the refrigerator
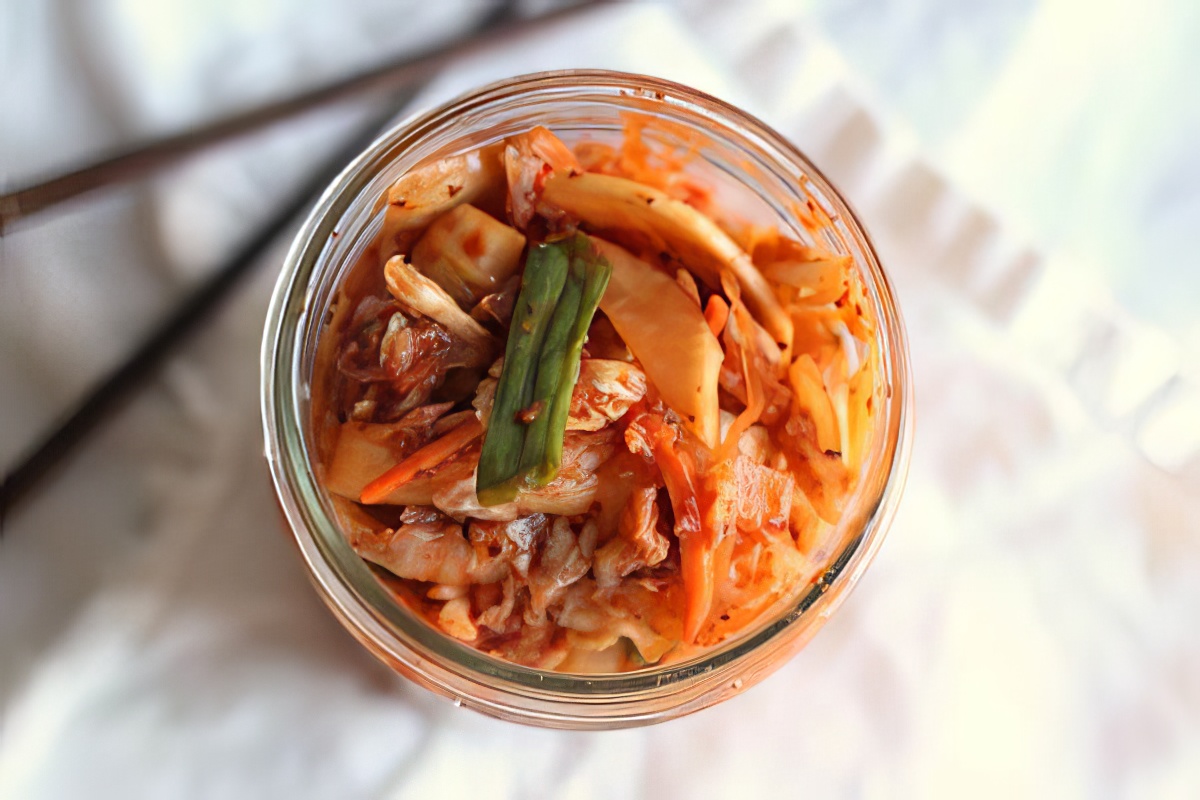
Step 5: Use Your Kimchi!
Because it's fermented, kimchi will supposedly last for a while in the refrigerator, but I generally try to use mine up within a month or so. Keep in mind that it will continue to ferment slowly and get more sour over time, even under refrigeration.
What should you do with your newly fermented kimchi? Traditionally it would be served as a side dish with Korean cuisine. I'm inclined to eat it straight from the jar. You can also use it as a condiment, piling it on top of a veggie burger or on a sandwich.
You can, of course, cook with it, and the advantage of cooking with kimchi is that it contains pretty much all the flavor you need, so most recipes featuring kimchi are rather simple, but also very flavorful. Here's a few great recipes with kimchi to try out:
- Sweet Potato Bibimbap
- Kimchi Noodle Soup from VegKitchen
- Kimchi Tacos from Simple Healthy Kitchen
- Kimchi Fried Rice with Bok Choy and Tofu from Connoisseurus Veg
- Kimchi Noodle Salad from Avocado a Day Nutrition
- Kimchi Pad Thai from Lemon Pie and Tie & Dye
📖 Recipe
Equipment
- Large pot or mixing bowl
- Mason Jars totaling approximately one quart volume
Ingredients
- 1 head Napa cabbage
- ½ cup non-iodized salt
- 1 tablespoon white sugar (organic for vegan-friendly)
- 1 ½ tablespoon fresh ginger, peeled and grated
- 5 cloves garlic, peeled and minced
- 5 scallions, cut into 1" pieces
- gochugaru (Korean red pepper flakes), or other hot chili powder of your choice, quantity to taste
Optional Additional ingredients
- 1 Granny Smith apple, thinly sliced
- ½ Daikon radish, thinly sliced
- ½ onion, thinly sliced
- ½ cup carrots, shredded or julienned
Instructions
- Cut the cabbage leaves into 1-2 inches pieces. You can tear them by hand or chip with a knife. Remove the core and any very thick pieces. Place the cabbage pieces into a large bowl.
- In a large pot or bowl, dissolve the ½ cup of salt into a gallon of water. If it's necessary, you can heat the water to do this, but you must let it cool back down before going on to the next step, otherwise the hot water will kill off the bacteria that's needed for the kimchi to ferment.
- Add your room temperature salted water to the bowl with your kimchi. All of the cabbage should be submerged- add more water if needed. You can use a smaller, clean bowl to weigh down the cabbage if needed. Let the cabbage soak like this for at least two hours.
- Drain the cabbage in a colander, and rinse with water to remove the salt.
- Place the cabbage into a large, clean mixing bowl. Add the chili powder and mix in any of the additional optional ingredients that you wish to include (see ingredient list above). Mix well. You can add additional water, if needed, to aid in mixing.
- Divide the mixture into mason jars, leaving at least one inch of space at the top of each jar. Pack the mixture down gently in each jar. Close the jars, but not too tightly, as the kimchi will release gas it ferments, which needs to escape.
- Let the jars site at room temperature for 2-5 days. You should see signs of fermentation after 24 hours. Open the jars at least once a day to let some of the pressure out, and press the mixture back down gently so it stays submerged in liquid.
- You can begin taste testing the kimchi on the second day. When you are happy with the amount of sourness, move the jars to the fridge. It can be used right away, but I find the flavor is best after 1-2 weeks in the fridge.


Emily says
I love kimchi, and your tutorial has inspired me to give it a whirl in my own kitchen. I have always loved the fermented flavor without the fish flavor, so I think this recipe is right up my alley!
Alissa says
Awesome! It's really easy and I think it's a lot of fun as well. I hope you get as hooked on DIY kimchi as I am. 🙂
Lauren Gaskill | Making Life Sweet says
I've always wanted to make my own kimchi and now I think I finally will!! Thanks for sharing!
Keri says
Hi there
Can you tell me what did you use to substitute fish sauce?
Thanks
Alissa says
Hi Keri! I don't usually feel like I need anything to replace the fish sauce, since kimchi has so much flavor without it. You could try a little soy sauce or miso if you want to add some saltiness and savory flavor though. I've also seen recipes that call for a little bit of nori.